Ultrasonic cleaning isn’t just a tool—it’s a quiet revolution happening in homes, labs, clinics, and workshops. We’ve all scrubbed, soaked, wiped, and still felt like the item wasn’t quite clean enough. That’s because grime hides where bristles and sprays can’t reach. Enter the ultrasonic cleaner, a device that uses invisible sound waves to lift contamination out of every crack and crevice. It doesn’t just save time—it changes the standard of what “clean” means.
The beauty of ultrasonic cleaning lies in its versatility. With the right technique, it can make everything from diamond rings to fuel injectors sparkle again. But not everything is suitable for this process—and what you put inside your cleaner, and how, determines both the results and the safety of your items.
The Most Common Items You Can Clean
If something can be fully submerged and is made of a hard, water-safe material, there’s a good chance it belongs in an ultrasonic cleaner. Jewelry, for example, responds incredibly well to ultrasonic cleaning. Gold, platinum, diamonds, sapphires—all come out gleaming, especially when cleaned from body oils, lotions, and oxidation tucked in claw settings or chain links.
Optical equipment is another prime candidate. Eyeglasses, camera lenses, and microscope components tend to accumulate smudges and dust in areas brushes can’t reach. Ultrasonic cavitation lifts these particles effortlessly without scratching the surface.
Dental and oral hygiene devices like clear retainers, night guards, and sports mouthguards also benefit. Since they come into constant contact with saliva and bacteria, daily ultrasonic cleaning with a neutral solution helps maintain hygiene and prolong their usability.
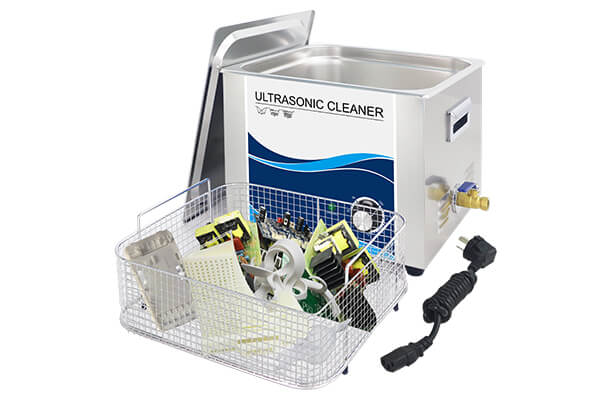
In the world of electronics, ultrasonic cleaning helps remove flux residues from circuit boards or fine dust from connectors and relays—just as long as the items are fully dried and de-energized before and after.
For mechanical parts, such as carburetors, nozzles, and small gears, ultrasonic cleaners save time and dramatically improve the removal of oil, carbon buildup, and microscopic metal shavings—especially when combined with a degreasing agent. The same applies to stainless steel surgical tools, which need pre-sterilization cleaning free of blood or tissue residue.
Even at home, you’ll find dozens of small items that benefit: razor heads, electric toothbrush components, reusable coffee filters, keys, coins, and more. With each use, the ultrasonic cleaner restores both function and finish.

What It Really Cleans: The Hidden Contaminants
Ultrasonic cleaning doesn’t just clean what’s visible. It targets substances that cling stubbornly to surfaces: polishing waxes, skin oils, food residues, oxidation, flux, cutting fluid, and more. In the case of dental devices, it helps remove protein films and early plaque buildup. On metal tools, it cuts through grease, rust, and fine machining debris.
But it’s important to note that ultrasonic cleaners aren’t sterilizers. They don’t kill viruses or bacteria on their own. If you’re cleaning surgical tools or dental appliances, follow up with proper sterilization after cleaning.
The key takeaway? What matters is not just what’s cleaned—but what’s removed. Cavitation pulls out what your hands and cloths cannot, without abrasion or surface damage.

Not Everything Belongs Inside
Some items, no matter how dirty, are better off cleaned by other means. Soft or porous materials, like wood, leather, paper, or certain foams, absorb moisture and often degrade or warp in the process. These materials tend to lose structural integrity when exposed to vibration and water immersion.
Jewelry that contains delicate gemstones such as opals, pearls, turquoise, or coral should also be handled carefully. These stones are sensitive to heat and vibration and can fracture or discolor under ultrasonic conditions.
Antique items or hand-assembled pieces with weak solder points may loosen or fall apart. The same applies to poorly set stones or glued elements—vibration can cause detachment or permanent damage.
Open electronic devices such as remote controls, headphones, or mechanical watch movements should never be placed in an ultrasonic cleaner unless completely disassembled and protected from moisture intrusion.
Even some plastics and rubbers can deform under heat or prolonged vibration, especially if they’re cheaply made or poorly aged. Always double-check the material’s compatibility before placing it in the tank.
That said, these are not faults of the cleaner itself. Like any professional tool, ultrasonic cleaners perform best when used with care and understanding. Choosing the right items and using proper cycles ensures optimal results and product longevity.

Choose the Right Cleaning Solution
No ultrasonic cleaner works well with plain water alone. While you can use distilled water in a pinch, the real effectiveness comes when paired with the right cleaning solution. Water-based, non-foaming agents are best.
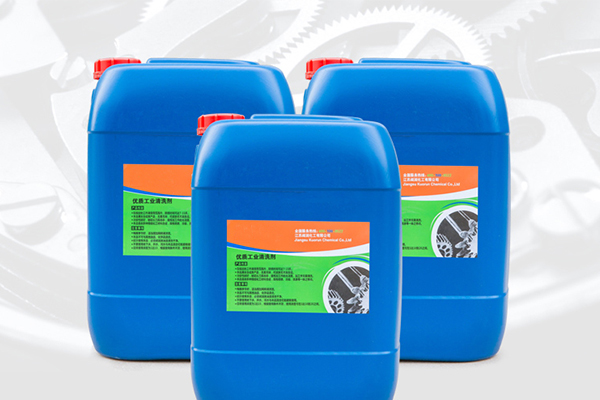
For jewelry and plastics, a mild neutral detergent is often enough. For oily automotive parts, a degreasing solution is recommended. Electronics require residue-free, specialized solutions, while medical or dental items may benefit from antimicrobial formulas.
Never use bleach, ammonia, acetone, or other corrosive solvents. These can damage both your items and the ultrasonic machine itself. Also, avoid heavily foaming detergents—they reduce cavitation efficiency and can overflow the tank.
The general rule: always match the cleaning agent to the material and type of contaminant. When in doubt, refer to the manufacturer’s chart or test on a spare item first.

Making the Most of Every Cleaning Cycle
Mastering ultrasonic cleaning means more than just tossing items into the tank. The way you load items, the solution you choose, the cycle time, and the temperature all play a role. Delicate items need short cycles and moderate temperatures (35–45°C), while tougher parts can handle longer runs with heated solutions.
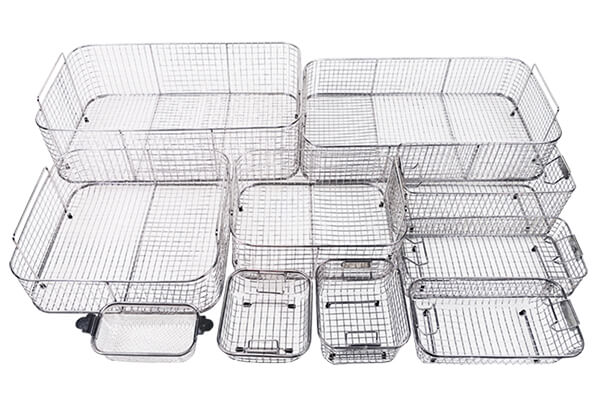
Space items properly. Use a basket or tray to keep them from touching the bottom or each other. Change the solution frequently to avoid recontaminating items. And don’t forget to clean the tank itself—residue build-up can reduce performance over time.
For daily users, timing is everything. Three to ten minutes is sufficient for most items. Over-cleaning can cause wear even without contact, especially on soft plastics or finishes.
Whether you’re maintaining a watch collection or sterilizing lab gear, building a consistent routine makes ultrasonic cleaning not only effective—but indispensable.
Smarter Cleaning for a Cleaner Life
What you put in an ultrasonic cleaner matters—but so does how you use it. With the right approach, this tool transforms cleaning into something effortless and exacting. It strips away what shouldn’t be there, preserves what should, and delivers a level of hygiene and detail that’s hard to achieve otherwise.
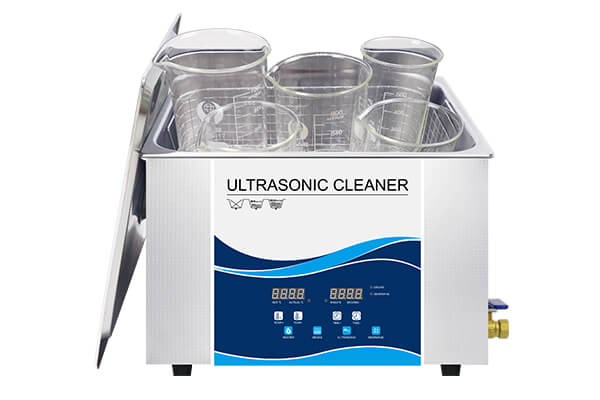
Granbo’s ultrasonic cleaners embody this potential. Designed for reliability and equipped with digital precision, temperature control, and customizable settings, Granbo models make high-quality cleaning accessible—whether you’re at home or in a professional setting. With robust stainless steel construction and optimized transducer layouts, they bring industrial-grade cleaning power to your countertop or lab bench.
As more people discover the difference ultrasonic cleaning makes—from clearer lenses to purer lab glassware to better-tasting espresso from a cleaner filter—the question is no longer whether to use it. It’s how soon you can make it part of your everyday routine.