Cleaning with an ultrasonic cleaner often appears effortless—just place the item in the tank, press a button, and watch the magic happen. But beneath that sleek process lies a key variable that can make or break your results: the fluid you choose to use. The type of solution in the tank does more than just carry the sound waves—it determines how effectively contaminants are lifted, whether the surface is protected, and how long your items will last after repeated cleanings.
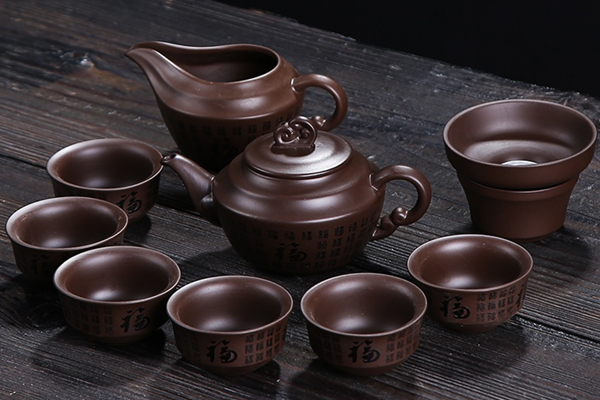
From delicate jewelry and dental appliances to rugged carburetors and precision electronics, each item calls for a different cleaning chemistry. Understanding how these fluids interact with both the item and the ultrasonic process is what separates average results from exceptional ones. Selecting the right fluid isn’t just a technical detail—it’s the foundation of successful ultrasonic cleaning.
Understanding the Role of Cleaning Fluids
Behind every successful ultrasonic cleaning session is a cleaning fluid that knows how to do its job. It’s not just about filling the tank with any liquid—it’s about creating the right chemical environment that supports cavitation, lifts away dirt, and protects the item being cleaned. Whether you’re dealing with fine jewelry, dental instruments, or auto parts, the cleaning fluid acts as the bridge between ultrasonic energy and visible results. The better you understand what your fluid does, the more precise and effective your cleaning outcomes will be.
Ultrasonic cleaning operates on the principle of cavitation, where high-frequency sound waves generate microscopic bubbles that implode against a surface, lifting away dirt and contaminants. The fluid you choose serves two purposes: it transfers ultrasonic energy efficiently and chemically interacts with debris to loosen or dissolve it. That’s why simply filling the tank with tap water may not give you the results you expect—especially on grease, rust, biological residue, or fine particulate matter.
Most ultrasonic cleaning fluids fall into one of four categories: water-based detergents, enzymatic solutions, acidic or alkaline degreasers, and solvent-based options. Each has its strength, and the best results often come from a combination of physical and chemical action tailored to the material being cleaned.
Common Types of Fluids and Their Applications
| Type of Fluid | Typical Applications | Key Characteristics |
|---|---|---|
| Water-Based Solutions | Jewelry, eyeglasses, plastic items, general household objects | Versatile and user-friendly; neutral or mildly alkaline; dish soap (no fragrance/moisturizer) can enhance cleaning |
| Enzymatic Cleaners | Dental tools, retainers, surgical instruments | Breaks down proteins and organic debris; gentle on materials; widely used in medical and dental fields |
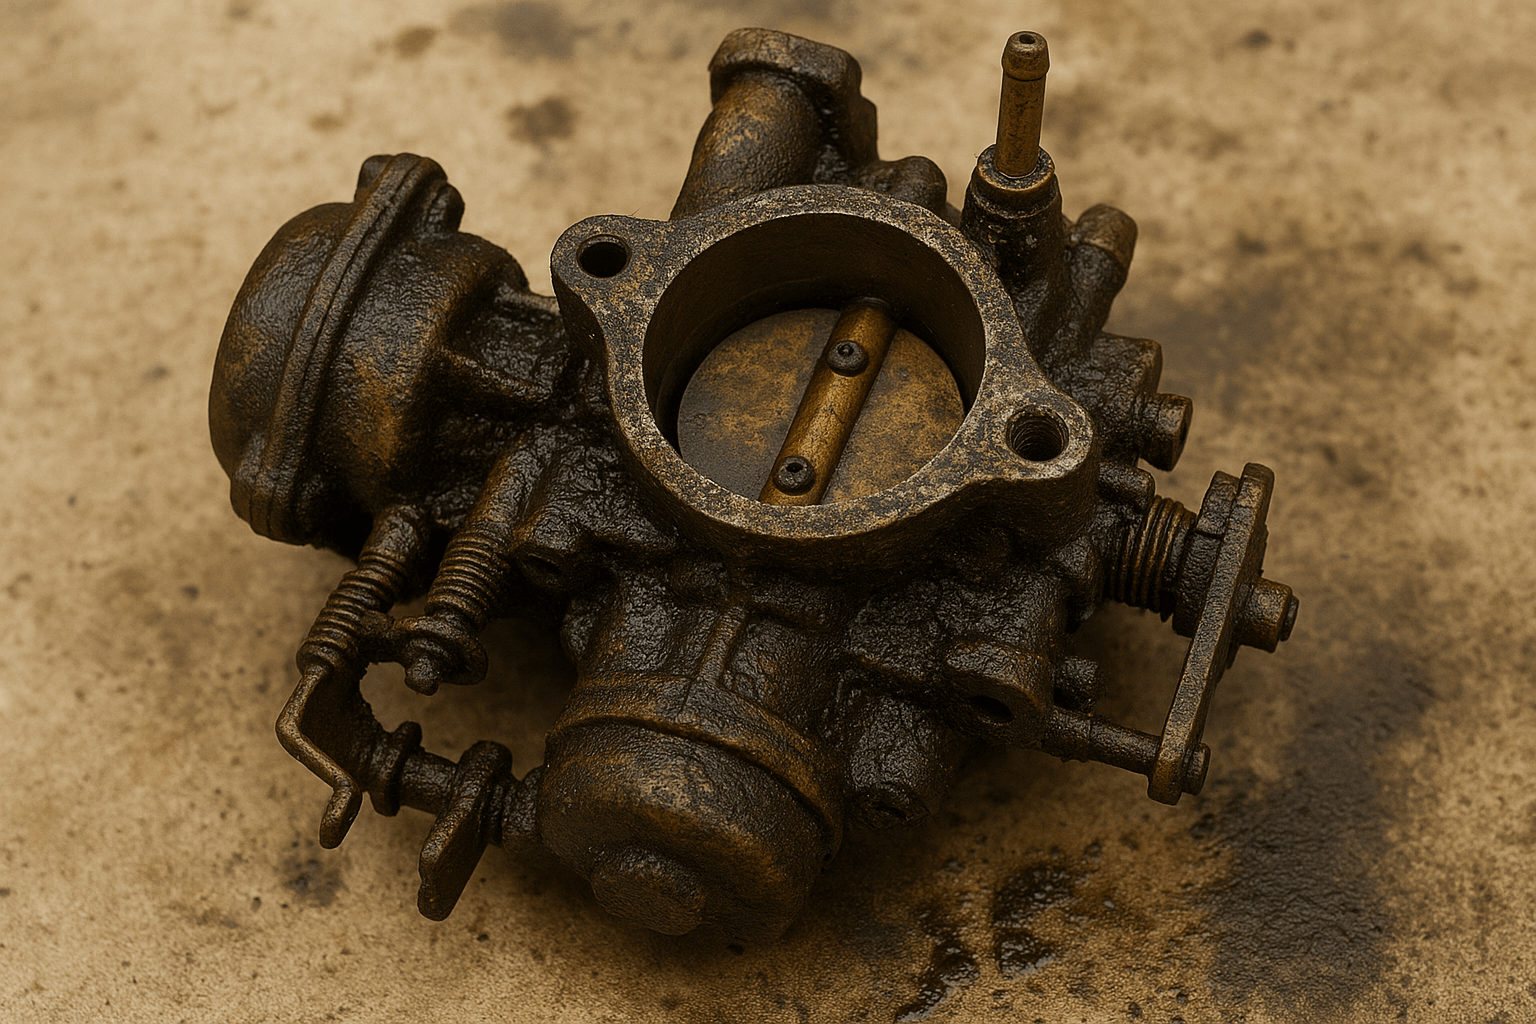
| Acidic/Alkaline Degreasers | Industrial parts, carburetors, engine blocks, machine tools | Aggressive cleaning power; dissolves oils, rust, and buildup; must be material-compatible to avoid corrosion |
| Solvent-Based Cleaners | Electronics, PCBs, watch mechanisms (used in beaker setup) | Fast-evaporating, residue-free; ideal for moisture-sensitive components; commonly includes isopropyl alcohol |
Pairing the Fluid with the Cleaning Task
Not every cleaning job is the same. A watch bracelet needs something different than a dental scaler or a car throttle body. To choose the right fluid, start by understanding what kind of debris you’re removing (organic, greasy, oxidized, etc.) and what the base material is (metal, plastic, ceramic, gemstone, etc.).
For example:
Gold rings benefit from a neutral jewelry-specific detergent.
Retainers need enzymatic or antibacterial solutions.
Carburetors call for a water-based degreaser with alkali content.
Circuit boards require IPA or dedicated electronics-safe solvents.
This pairing of material and solution is where ultrasonic cleaning excels—especially when done with an intelligent machine that supports temperature control and programmable cycles.
Why Water Alone Often Falls Short
While water is the most accessible and commonly used liquid in ultrasonic cleaners, it’s rarely the most effective on its own. Water lacks the surfactants and detergents necessary to break down oils, protein films, oxidation, and stubborn residues. Its surface tension also limits cavitation efficiency, meaning that even if your ultrasonic unit is powerful, pure water won’t allow it to deliver its full cleaning potential.
For example, trying to clean a carburetor soaked in engine grime or a dental retainer coated in biofilm using only water will likely yield disappointing results. The contaminants may loosen slightly, but not lift away entirely. What water can do is serve as a safe base—especially when you’re dealing with sensitive materials—but it needs the support of a compatible cleaning agent to truly unlock the ultrasonic cleaner’s capabilities. Think of it this way: water is the carrier, but the cleaning agent is the actual worker.
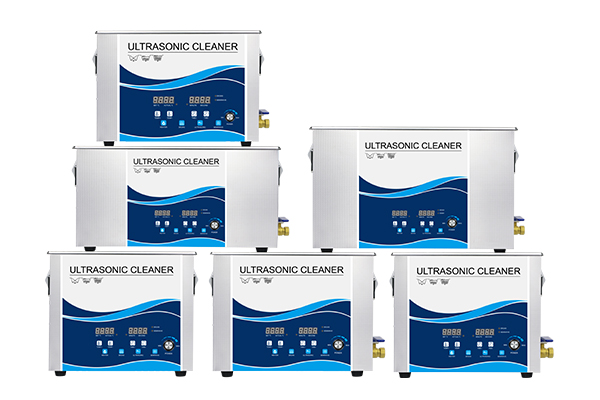
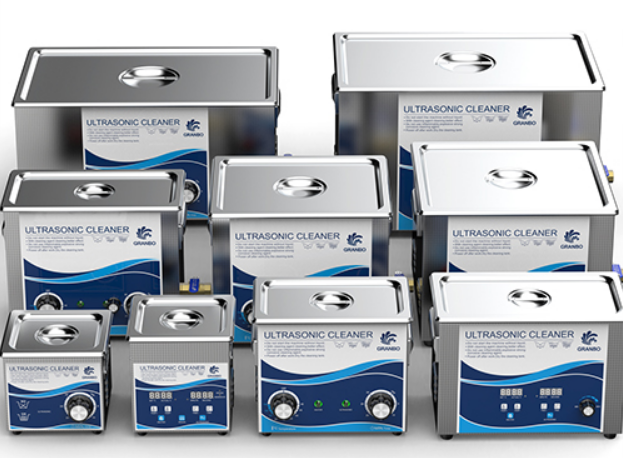
Smart Fluid Use with Granbo Ultrasonic Cleaners
When it comes to ultrasonic cleaning, the machine and the fluid must work in harmony—and that’s where Granbo truly shines. Built with precision controls, heating functions, and advanced degassing modes, Granbo ultrasonic cleaners are engineered to unlock the full potential of your cleaning solution. Whether you’re using a neutral detergent for jewelry, an enzymatic formula for dental tools, or a water-based degreaser for automotive parts, Granbo devices ensure the fluid is evenly activated and optimized. It’s not just about compatibility—it’s about helping every drop perform to its fullest.
Granbo ultrasonic cleaners are engineered for precision and adaptability. Whether you’re cleaning surgical instruments or antique watches, the machines are designed to work with a variety of fluid types, maximizing their effect through stable frequency output and degassing functions.
Their multi-mode settings and temperature regulation features ensure the fluid’s chemical action is optimized. From soft foam cleaners to aggressive degreasers, Granbo allows you to customize the cleaning environment, making even delicate jobs safe and effective.
Moreover, the integrated degas mode ensures that any fluid added—especially new or pressurized liquids—releases trapped gases for stronger cavitation and better cleaning performance from the first cycle.
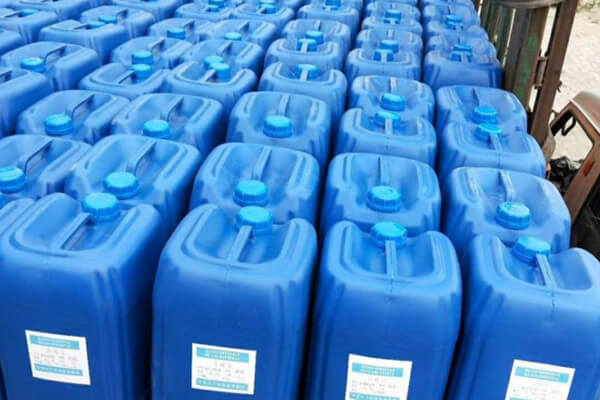
Creating Your Own Solutions
DIY solutions can be tempting, especially for budget-conscious users or hobbyists. A few drops of dish soap, a splash of vinegar, or a baking soda mix may sound harmless and effective—but caution is warranted. Many household substances are not designed for ultrasonic environments. Vinegar, for instance, is acidic and can damage softer metals or degrade rubber gaskets over time. Dish soap may produce excessive foaming, reducing cavitation and potentially damaging the transducer.
Worse yet, some DIY mixtures can leave residues behind or even corrode your tank. Incompatible chemicals might react with metals or coatings in unexpected ways, especially when energized by ultrasonic waves. Unless you’re experienced with chemistry or have guidance from reliable sources, it’s safer—and more effective—to opt for commercially available ultrasonic cleaning solutions that are specifically formulated for the task.
Maintaining Cleaning Fluids for Optimal Results
Even the best cleaning solution loses its edge if not properly maintained. Over time, ultrasonic cleaning fluids accumulate loosened contaminants, oils, and debris, which can reduce their effectiveness and compromise cleaning quality. Think of it like washing dishes in increasingly dirty water—the results decline with each pass. To keep your cleaning cycles consistently effective, it’s important to monitor the clarity and performance of your fluid. Regular replacement, filtration where applicable, and degassing when refilling are small steps that make a big difference in performance and safety.

Even the best cleaning fluid won’t perform indefinitely. Over time, oils, particulate matter, and broken-down contaminants saturate the solution, reducing its effectiveness and clarity. Depending on how heavily and frequently you use your ultrasonic cleaner, it’s crucial to replace the solution regularly—ideally every few cycles in high-demand settings, or at least weekly for home use.
Also pay attention to signs that your fluid is losing potency: if your items are coming out less clean, if residue is visibly floating in the bath, or if the solution has changed color or developed an odor, it’s time for a change. Stirring the liquid before each use and covering the tank between sessions can also help prolong the fluid’s effectiveness by limiting evaporation and airborne contamination. And always remember to clean the tank itself—leftover grime at the bottom can interfere with new fluid and reduce cavitation efficiency.
Final Thoughts: The Liquid You Use Matters
Choosing the right fluid for your ultrasonic cleaner isn’t an afterthought—it’s central to getting the results you want. A good ultrasonic cleaner amplifies what the fluid can do; it doesn’t replace it. For jewelry, medical instruments, electronics, or auto parts, pairing the right solution with a capable device like a Granbo ultrasonic cleaner transforms the process from simple cleaning to deep restoration.