Degreasers are powerhouse cleaning agents—designed to cut through tough oil, grease, and wax with ease. Paired with ultrasonic technology, which uses high-frequency bubbles to lift debris from hidden nooks, they seem like the perfect match for stubborn industrial parts, mechanical tools, or automotive components. But does mixing a degreaser into an ultrasonic tank deliver exceptional results—or pose unseen risks?
Making that decision well means understanding how chemicals and cavitation interact. The goal isn’t just a cleaner part—it’s a reliably clean one, without damaging equipment or compromising safety.
Understanding Ultrasonic Action & Degreasing Chemistry
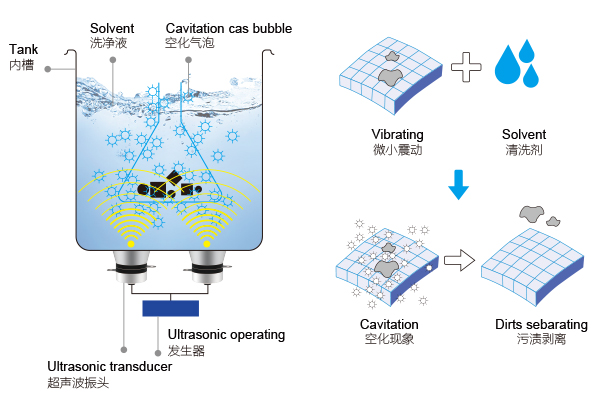
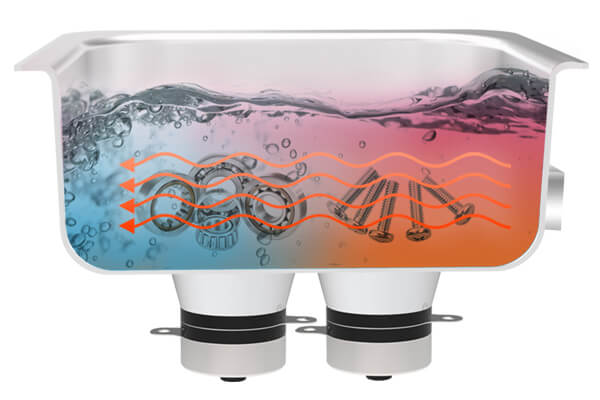
Ultrasonic cleaners work through cavitation—tiny bubbles forming and collapsing to dislodge dirt and grime on a microscopic level. Degreasers, on the other hand, chemically dissolve heavy contaminants by breaking molecular bonds in oils and greases. When used together, the synergy can be powerful: cavitation pre-loosens debris, while degreaser dissolves it efficiently.
However, compatibility isn’t always guaranteed. Degreaser strength, fluid conductivity, and solvent type can affect bubble performance. Highly alkaline or solvent-based degreasers may dampen cavitation or chemically react with metal cleaning tanks. In worst-case scenarios, they can corrode components or degrade equipment seals. Choosing the right degreaser formula—ideally labeled safe for ultrasonic use—is key to making the combo work better—not harder.
When Degreaser Enhances Ultrasonic Cleaning
Pairing the right degreaser with an ultrasonic cleaner can excel in these situations:
Engine & Automotive Parts: Carbon-heavy components respond well to mid-strength aqueous degreasers plus ultrasonic energy.
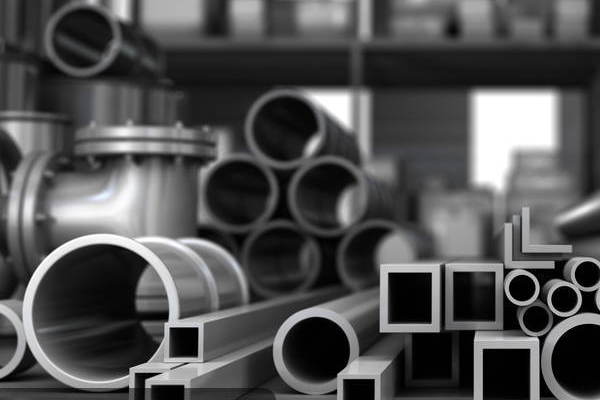
Metal Fabrication Tools: Regular mild alkaline degreaser maintains tool life and prevents rust buildup.
Greasy Industrial Components: Combining short ultrasonic cycles with degreaser dissolves caked-on grime faster than either method alone.
In such cases, degreaser not only speeds up cleaning but also reduces wear on ultrasonic units—especially when dilute solutions (5–10%) are used along with short cleaning cycles (under 10 minutes).

Choosing the Right Degreaser for Your Ultrasonic Cleaner
Not all degreasers are created equal—especially when used inside an ultrasonic bath. The two most common categories are water-based (aqueous) degreasers and solvent-based ones.
Water-based degreasers are generally the safest bet for ultrasonic cleaning. They are biodegradable, less volatile, and typically formulated with corrosion inhibitors to protect both the cleaning tank and the object being cleaned.
Solvent-based degreasers, while highly effective against certain contaminants like tar or heavy grease, often come with hazards. Many of these solutions are flammable, release fumes, or contain chemicals that degrade ultrasonic components over time. That’s why it’s essential to read manufacturer recommendations—both for your ultrasonic unit and for the degreaser product.
Look for degreasers explicitly marked “ultrasonic compatible.” Brands often provide dilution ratios, temperature guidelines, and warnings about material incompatibility. This attention to detail helps avoid accidental etching on aluminum parts or discoloration of softer plastics.

Best Practices and Safety Guidelines
Using degreasers in an ultrasonic cleaner should always follow a few best practices to ensure effective and safe operation.
First, dilute the degreaser according to the product instructions—most require only 5% to 10% solution strength. Over-concentration can damage delicate components or interfere with the formation of cavitation bubbles.
Second, maintain an appropriate cleaning temperature. While degreasers typically work better when heated, temperatures above 60°C (140°F) may reduce cavitation efficiency or lead to chemical degradation. Most ultrasonic units perform best between 40°C and 60°C when degreasing.
Third, always place items in a basket rather than directly on the tank floor. This not only protects the tank from scratches but also ensures uniform exposure to both ultrasonic waves and cleaning solution. After cleaning, rinse items thoroughly with water to remove residual degreaser before drying.
Personal safety is just as important. Wear gloves and ensure your workspace is well-ventilated, particularly when working with solvent-based solutions. Avoid inhaling fumes and never use highly volatile cleaners in enclosed spaces.

Final Thoughts: Maximizing Performance While Minimizing Risk
Ultrasonic cleaners are incredibly effective machines—especially when paired with the right degreasing agents. But like all powerful tools, they require knowledge, care, and responsibility. Choosing compatible degreasers, following usage guidelines, and prioritizing safety can help you unlock the full potential of ultrasonic cleaning.
Whether you’re cleaning greasy engine parts in a garage or delicate metal components in a workshop, the right solution makes all the difference. By pairing a reliable ultrasonic cleaner with a thoughtfully selected degreaser, you create an efficient, repeatable process that saves time and protects your equipment in the long run.
The following is a video of using the Granbo ultrasonic cleaning machine to clean automotive part: