Fuel injectors are often overlooked in regular car maintenance, yet they play a pivotal role in your engine’s performance, fuel economy, and emissions. Over time, these precision components can become clogged with carbon deposits, varnish from old fuel, or microscopic debris that restricts flow. When that happens, your car may suffer from rough idling, poor acceleration, or increased fuel consumption.
So, what’s the best way to restore fuel injectors to their factory performance? Among several techniques, ultrasonic cleaning has become a go-to solution in professional auto repair shops—and increasingly among advanced DIY enthusiasts. But can ultrasonic cleaning truly handle the job? And more importantly, is it safe?
Why Fuel Injector Cleaning Matters
Modern engines—especially those with high-pressure fuel systems—rely on fuel injectors to deliver precise amounts of fuel at specific times. Even slight inefficiencies in the injector’s spray pattern or flow rate can lead to major combustion issues. According to research published in the SAE International Journal of Engines, fuel injector deposits are among the top contributors to long-term fuel economy deterioration in direct injection engines.
In fact, dirty injectors can lead to:
- Uneven fuel-air mixture
- Poor throttle response
- Engine knocking
- Increased tailpipe emissions
- Engine misfires under load
These issues become more noticeable in turbocharged or high-performance engines, where injector performance must be near-perfect.
Common Methods of Cleaning Fuel Injectors
Traditionally, there are three ways to clean fuel injectors:
- Additive-Based Cleaning: Fuel additives claim to clean injectors over time by burning through and breaking up deposits. While cheap and easy, the effects are often minimal—especially for heavily clogged injectors.
- On-Car Cleaning with Pressurized Equipment: This method uses a pressurized canister filled with cleaning fluid, connected directly to the fuel rail. The car runs on the cleaning solvent instead of gasoline. This technique is better than fuel additives but still doesn’t remove internal deposits effectively.
- Off-Car Manual Cleaning: Removing the injector from the engine allows for brushing or backflushing, which gives better access—but it’s still difficult to clean internal channels thoroughly without the right tools.
This is where ultrasonic cleaning offers a significant advantage.
How Ultrasonic Cleaning Works
Ultrasonic cleaning uses high-frequency sound waves, typically in the 20kHz to 200kHz range, to generate microscopic cavitation bubbles in a liquid solution. These bubbles form and collapse thousands of times per second, creating high-energy shockwaves that scrub even the tiniest surfaces.
When a fuel injector is placed in an ultrasonic bath, these microbubbles reach into internal nozzle holes and spray channels that are otherwise inaccessible. The result? A level of cleanliness that’s difficult to achieve through manual or chemical means alone.
According to a 2022 study from the Journal of Advanced Mechanical Engineering, ultrasonic cleaning reduced particulate blockages in fuel delivery systems by up to 93% compared to traditional solvent soaking methods. That’s a game-changer in terms of performance recovery and longevity.
Can You Clean Fuel Injectors in an Ultrasonic Cleaner?
The short answer is: yes, absolutely—with the right setup and precautions.
Ultrasonic cleaners are widely used in automotive service centers to clean port fuel injectors and even direct injectors, which are known for accumulating stubborn deposits due to their high-pressure operation. In fact, injector cleaning services using ultrasonic machines are now a standard part of injector refurbishment processes.
However, it’s crucial to understand the right way to use ultrasonic cleaning for this purpose. Injectors are electrically actuated solenoids, and they’re not just hollow tubes. Improper handling can damage them permanently.
That’s why:
- Injectors should be cleaned off the vehicle
- O-rings, filters, and seals must be removed first
- Cleaning should be done while pulsing the injector, to allow cleaner to flow through it
- Cleaning fluid must be non-corrosive and compatible with fuel system components
Step-by-Step Guide to Ultrasonic Cleaning Fuel Injectors
If you’re considering using an ultrasonic cleaner to restore your fuel injectors, it’s not just about tossing them in the tank and pressing a button. Like any precision cleaning process, there’s a method to it—and following the right sequence ensures you get optimal results without damaging these sensitive components.
Let’s walk through the complete ultrasonic cleaning process for fuel injectors, step by step.
1. Preparation and Safety First
Before anything else, ensure your workspace is well-ventilated and free from open flames. Even though you’re not working with gasoline directly, fuel residue and cleaning solvents can emit flammable vapors.
Safety gear checklist:
- Chemical-resistant gloves
- Safety goggles
- Ultrasonic-safe cleaning fluid
- Absorbent pads for spills
Now, disconnect your vehicle’s battery and carefully remove the fuel injectors from the engine. This varies depending on your vehicle model, but typically involves:
- Depressurizing the fuel system
- Disconnecting electrical connectors
- Removing the fuel rail
- Extracting the injectors one by one
Take care not to lose O-rings or fragile filter baskets—though, as we’ll cover next, these parts should be removed before cleaning.
2. Disassemble the Injector Safely
Before placing injectors in an ultrasonic cleaner, remove all rubber or plastic parts. This includes:
- Upper and lower O-rings
- Filter baskets (usually at the inlet)
- Plastic spacers or clips
These materials can degrade in ultrasonic baths, especially at elevated temperatures. Replacement filter kits and seals are inexpensive and widely available.
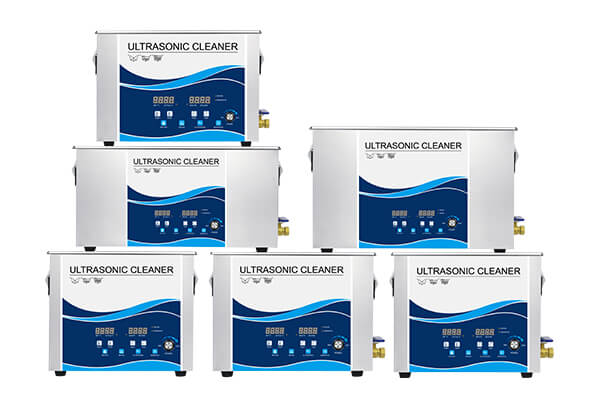
3. Select the Right Ultrasonic Cleaning Machine
For fuel injector cleaning, the ultrasonic cleaner should meet a few minimum requirements:
- Tank Size: At least 2 liters to accommodate multiple injectors lying flat
- Frequency: 40kHz or higher is ideal; higher frequencies clean more gently and penetrate tight spaces better
- Power: 100–200 watts is typically sufficient for this application
- Degas Function: Helps eliminate air bubbles in the cleaning solution for more efficient cavitation
- Heating Element: Speeds up cleaning time; optimal fluid temperature is usually around 50°C (122°F)
Industrial-grade machines used by service centers often include multiple frequency options and injector pulse control modules. However, a well-chosen mid-range machine can achieve excellent results for most DIY users or small garages.
4. Use a Pulse Driver to Activate the Injectors
Injectors should be pulsed during cleaning. Why?
Because ultrasonic waves alone clean the outer surfaces and submerged nozzle tip—but internal channels remain stagnant unless fluid is actively pushed through.
By connecting the injector to a 12V injector pulse driver (also called an injector tester or pulser), you can repeatedly open and close the pintle valve. This allows the cleaning solution to flow through the injector’s inner chamber, scrubbing away any lodged debris or hardened varnish.
Pro tip: Use a pulsing frequency of about 10Hz to 20Hz, and never leave the injector energized continuously—doing so can burn out the coil.
5. Choose the Right Cleaning Solution
Not all solutions are created equal. You should never use aggressive solvents like acetone, gasoline, or household degreasers. Instead, opt for an ultrasonic cleaner-compatible degreaser or carburetor cleaner that is safe for aluminum and fuel-safe plastics.
A popular and effective choice is a water-based detergent specifically formulated for carbon removal. The detergent should:
- Be non-corrosive
- Enhance cavitation
- Break down carbon, varnish, and fuel residue
Examples include Berryman Chem-Dip diluted with distilled water, or commercial ultrasonic cleaning fluids from automotive supply companies.
6. Cleaning Time and Conditions
Place the injectors horizontally in the tank so the nozzles are fully submerged. If you’re pulsing the injector, secure the wiring away from the fluid and start the ultrasonic cycle.
- Cleaning duration: 10–15 minutes
- Temperature: 50°C to 60°C
- Frequency: 40kHz or higher
You may see a brown or black cloud emerge from the injector tips—that’s varnish and carbon residue breaking loose.
7. Post-Cleaning Inspection and Backflushing
Once cleaning is complete:
- Remove the injectors and rinse them with distilled water or isopropyl alcohol
- Dry with compressed air or a clean microfiber cloth
- Perform a backflush if your equipment allows it: this pushes any remaining debris back out through the inlet
Backflushing is especially useful for older or high-mileage injectors with internal grit.
8. Reinstall and Test
Replace the filter baskets and O-rings with new ones. Then reinstall the injectors into the fuel rail and back into the engine. After reassembly, start the vehicle and observe for:
- Smooth idle
- Improved throttle response
- No fuel leaks around the injector seals
A flow test bench can also verify that the injectors now deliver equal volumes of fuel—many ultrasonic cleaning kits include test tubes for this purpose.
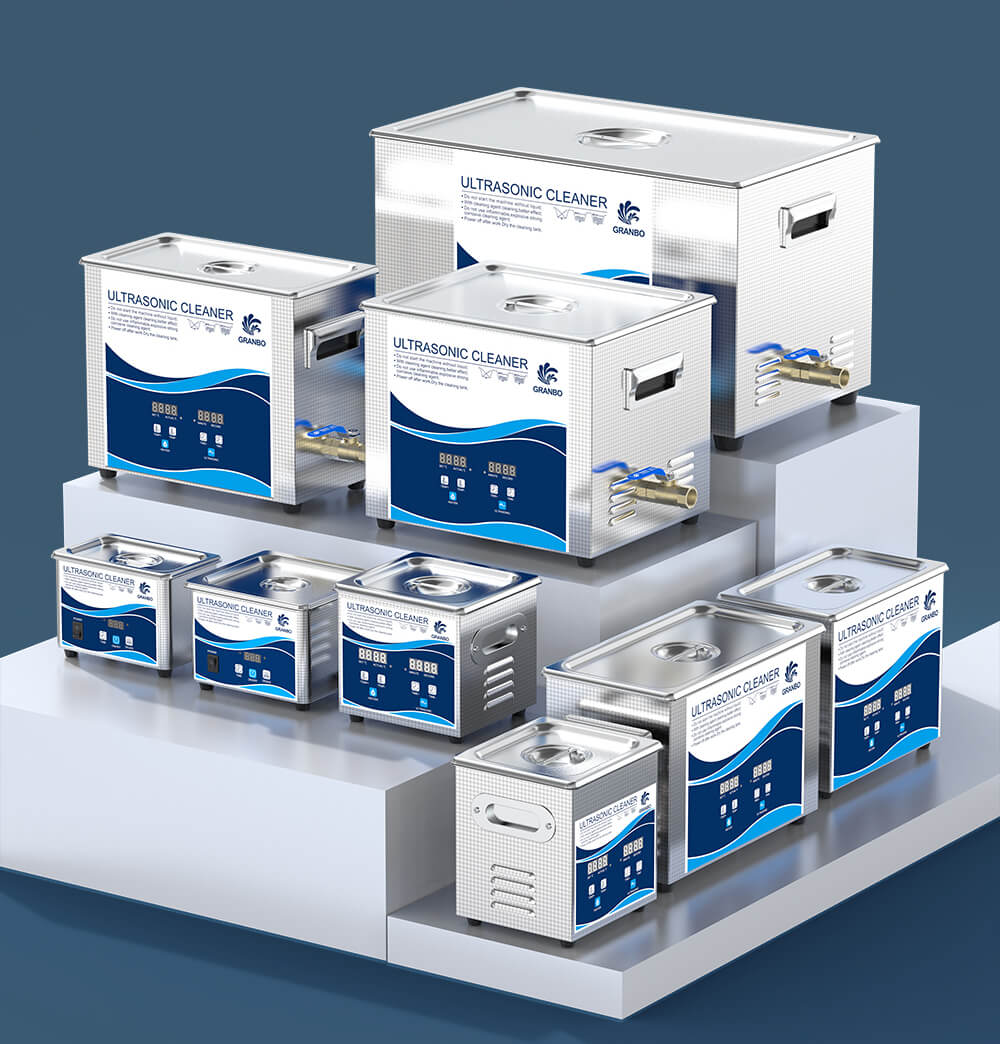
Choosing the Right Ultrasonic Cleaner for Fuel Injectors
Not all ultrasonic cleaners are built the same—especially when it comes to something as demanding as fuel injector maintenance. Selecting the right machine is crucial to achieving consistent and safe cleaning results, particularly if you’re handling high-performance injectors or working in a professional environment.
Let’s break down the most important factors to consider when choosing an ultrasonic cleaner specifically for fuel injectors.
1. Frequency Range and Cavitation Behavior
Ultrasonic cleaning relies on cavitation—tiny implosions of air bubbles in a liquid medium—that scrub away contaminants at a microscopic level. The frequency of the ultrasonic waves influences how these bubbles form and collapse:
- Low frequencies (28–33kHz): These produce larger, more aggressive bubbles. While excellent for removing thick grease and grime, they may be too harsh for delicate components or internal injector parts.
- Mid frequencies (40kHz): Ideal for general cleaning of injectors. They offer a balance between power and gentleness, making them suitable for most fuel system components.
- High frequencies (60–80kHz and up): Create smaller, gentler cavitation bubbles, which are great for cleaning fine internal channels without damaging coatings or seals. These frequencies are especially useful for high-precision injectors in direct injection engines.
For fuel injectors, 40kHz is the industry sweet spot. However, if you service modern high-precision injectors, opting for a dual-frequency or high-frequency model is a wise investment.
2. Tank Capacity and Size
The ultrasonic cleaner must comfortably fit multiple injectors lying flat. Injectors should not be stacked or touching each other to ensure even exposure to the cleaning solution.
- Minimum recommended tank size: 2–3 liters for basic setups.
- For cleaning four or more injectors at once, or for use with a test bench, consider 6–10 liter tanks.
Look for tanks made from 304 or 316 stainless steel, which are corrosion-resistant and compatible with various cleaning solutions.
3. Heating Element and Temperature Control
Temperature plays a big role in cleaning efficiency. Warm solutions reduce surface tension, enhance cavitation, and speed up the breakdown of contaminants.
For fuel injectors, the ideal temperature range is 50°C to 60°C (122°F to 140°F). Most carbon-based residues dissolve faster at these temperatures.
Make sure your cleaner offers:
- Digital or analog temperature control
- Heating elements powerful enough to maintain steady temperatures throughout the cleaning cycle
4. Degas and Sweep Functions
Two advanced features to look for:
- Degas mode: Removes trapped air from the solution before cleaning begins. This increases cavitation efficiency and prevents inconsistent cleaning.
- Sweep function: Slightly varies the ultrasonic frequency during operation, eliminating “dead zones” in the tank and ensuring uniform cleaning. Especially valuable for removing debris from tight internal passages.
If you’re running a service center or cleaning injectors regularly, these features are well worth the upgrade.
5. Pulse Driver or Test Bench Integration
As mentioned earlier, pulsing the injectors during cleaning ensures that internal components are exposed to the fluid. Some high-end ultrasonic machines include integrated injector driver ports, allowing simultaneous pulsing and cleaning.
Alternatively, third-party pulse boxes (12V) can be connected externally. If you’re serious about injector restoration, investing in a combined ultrasonic cleaner and test bench unit allows you to clean, test spray patterns, and flow-rate check—all in one setup.
6. Construction Quality and Warranty
Look for machines with:
- Durable stainless steel housing
- Reinforced baskets to prevent contact between parts and the tank bottom
- Drain valves (for easy solution disposal)
- Transparent lids (to monitor the cleaning process)
Also, choose a model backed by a warranty of at least one year, and ensure spare parts or service support are available.
Common Misconceptions About Ultrasonic Fuel Injector Cleaning
Despite its growing popularity, ultrasonic cleaning still suffers from a few myths and misunderstandings. Let’s clear them up:
“It’s just snake oil.”
In reality, multiple studies and workshop trials have proven the effectiveness of ultrasonic cleaning for restoring flow rates and improving spray patterns. When used properly, it often restores 90% or more of lost performance in injectors clogged by varnish or carbon.
“It damages injectors.”
Only if used incorrectly. Problems arise when:
- Rubber seals are left on during cleaning
- High temperatures (>70°C) are used
- Overly aggressive chemicals are added
- The injector is continuously energized (burning the solenoid)
With the right technique and tools, ultrasonic cleaning is extremely safe.
“It can fix mechanical injector failure.”
Ultrasonic cleaning removes deposits and obstructions, but it cannot repair cracked housings, failed coils, or broken pintle valves. Testing before and after cleaning helps determine if replacement is needed.
When NOT to Use Ultrasonic Cleaning on Fuel Injectors
Despite its effectiveness, ultrasonic cleaning is not a silver bullet. It’s important to recognize situations where it should not be used or might be insufficient:
- Injectors with cracked plastic bodies: These can leak or break under cavitation and heat.
- Units with electrical faults: Ultrasonic cleaning won’t fix solenoids or broken connectors.
- Corroded injectors: While the ultrasonic process can remove rust flakes, it cannot reverse pitting or internal damage.
- Non-serviceable injectors: Some OEMs design injectors as sealed, disposable components. Always check manufacturer recommendations.
If you’re unsure whether your injectors are safe for ultrasonic treatment, consult your vehicle’s service manual or a professional fuel system technician.
Maintaining Clean Injectors After Ultrasonic Cleaning
Once cleaned, how do you keep your fuel injectors performing at their best?
- Use quality fuel: Top-tier gasoline contains detergents that prevent buildup.
- Replace fuel filters regularly: Dirty filters can reintroduce contaminants.
- Consider fuel additives: Periodic use of injector-safe cleaners can slow residue formation.
- Avoid long idle times: Incomplete combustion and cold running promote deposits.
With proper care, ultrasonic-cleaned injectors can remain efficient for tens of thousands of miles.
Professional vs DIY Ultrasonic Injector Cleaning
Should you clean your injectors yourself, or leave it to the pros?
- DIY Cleaning:
- More affordable
- Flexible timing
- Requires investment in equipment and some risk of incorrect handling
- Good for enthusiasts and experienced DIYers
- Professional Service:
- Includes flow testing, diagnostics, and pressure calibration
- Safer for modern high-pressure systems
- Typically more expensive
If you’re confident in your skills and use quality equipment, DIY ultrasonic cleaning is a viable and cost-effective option. Otherwise, the peace of mind that comes with professional service might be worth the extra expense.