Ultrasonic cleaning technology is highly regarded for its precision, efficiency, and eco-friendliness. From watch repair and electronics maintenance to laboratory use and industrial production, ultrasonic cleaners have become essential across numerous fields. For those with a foundational understanding of electronics and mechanics, building your own ultrasonic cleaner can be an incredibly rewarding way to save cost and deepen your grasp of how this technology works.

1. Preparation: Materials and Basic Knowledge
Before you begin, gather your tools and ensure you’re familiar with basic concepts like ultrasonic frequency, transducer function, and circuit safety.
Essential Components:
- Ultrasonic transducer (typically 28kHz or 40kHz)
- Ultrasonic generator/driver board
- 304-grade stainless steel tank
- Power cable, fuse, temperature controller (optional)
Supporting Materials:
- High-temperature adhesive (for bonding transducer to tank)
- Stainless steel mesh or rack
- Acetone, methanol (for surface cleaning)
- Clamps or pressing fixtures
- Oven or heating unit (for curing adhesive)
Skills Required:
- Basic electrical wiring and soldering knowledge
- Ability to use hand tools and follow assembly procedures
- Understanding of frequency matching, impedance, and acoustic resonance
2. Construction Process: Step-by-Step Instructions
Step 1: Surface Sandblasting and Preparation
Lightly sandblast the bonding surface on the tank and the transducer base to create a rough texture. This improves adhesive strength. Use 30-grit alumina or similar media, and ensure surfaces are dry and clean.
Step 2: Cleaning and Drying
Use a mix of methanol and acetone to clean the bonding surfaces thoroughly. All components, including mesh racks and screws, should be cleaned and then dried in a 60–80°C oven for at least two hours to eliminate moisture.
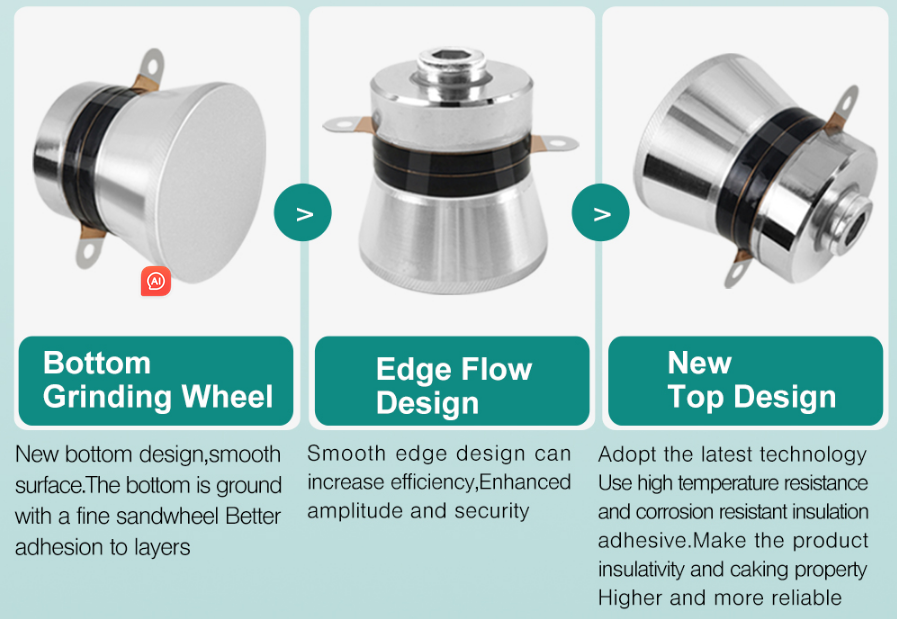
Step 3: Bonding the Transducer
At a room temperature of ~40°C:
- Mix adhesive according to manufacturer’s instructions (e.g., 1:0.4 resin to hardener ratio).
- Apply the adhesive evenly and press the transducer firmly against the underside of the tank.
- Clamp or use a jig to apply constant pressure.
- Place a stainless steel mesh inside the tank to protect the transducer from direct contact with items.
Step 4: Multi-Stage Curing Process
Gradually increase curing temperature as follows:
- 40–50°C for 30 minutes
- 60–70°C for another 30 minutes
- 80°C for 2 hours
Let the adhesive mature at room temperature for 24 hours. Use a programmable controller to ensure consistent thermal ramping.
3. Wiring and Electronic Integration
Ultrasonic Circuit Setup:
- Solder transducer leads to the output terminals of the driver board.
- Connect the input side to 220V AC (or appropriate voltage for your region), using a voltage stabilizer if needed.
- Enclose the driver board in a metal or insulated case with proper grounding.
- Ensure the driver includes a frequency matching function to protect the transducer.
Optional: Heating and Temperature Control
To add heating capability:
- Install a PTC heating element and a basic temperature controller with:
- Overheat protection circuit
- External rotary temperature dial
- Mount the heater on the tank’s outer wall—never inside the water basin.
4. Testing and Calibration
Electrical & Acoustic Tests:
- Use an impedance meter to confirm each transducer reads between 250–300 ohms.
- Run the unit with pure water and observe for uniform cavitation bubbles.
- Conduct a foil test by placing a thin aluminum sheet in the water—uniform perforation indicates effective cleaning action.
- Listen for unusual sound patterns; high-pitched noise or pulsing may indicate frequency mismatch or wiring issues.
If any transducer produces inconsistent output or irregular sound, recheck its adhesion, polarity, and circuit stability.
5. Safety and Usage Tips
- Never operate the cleaner dry. Always ensure the tank contains liquid to protect the transducer.
- Use neutral, water-based cleaning solutions—avoid flammable, acidic, or highly alkaline fluids.
- Inspect the unit regularly for signs of adhesive wear, cable damage, or corrosion.
- Always ground the unit properly and use a power source with leakage protection.
- Avoid using your DIY machine for high-value electronics or precision components unless thoroughly tested.
Conclusion: A Project of Precision and Discovery
Building your own ultrasonic cleaner is a multidisciplinary challenge that blends electronics, materials science, and hands-on engineering. If approached with care and technical understanding, the result is a highly functional tool that serves both personal and professional purposes.
Whether you’re a DIY enthusiast, repair technician, or laboratory worker, creating your own machine is not just about cleaning—it’s about exploring how precision systems are made.
Prefer Simplicity and Stability?
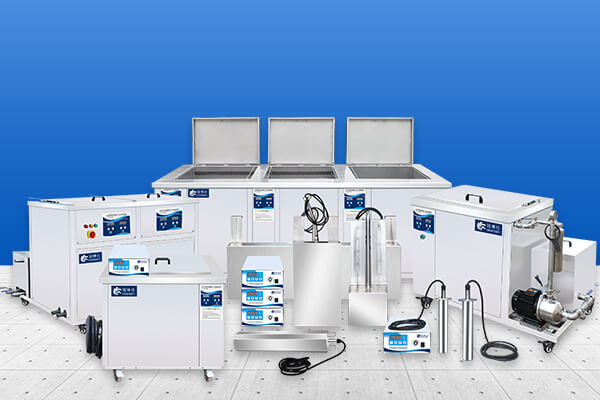
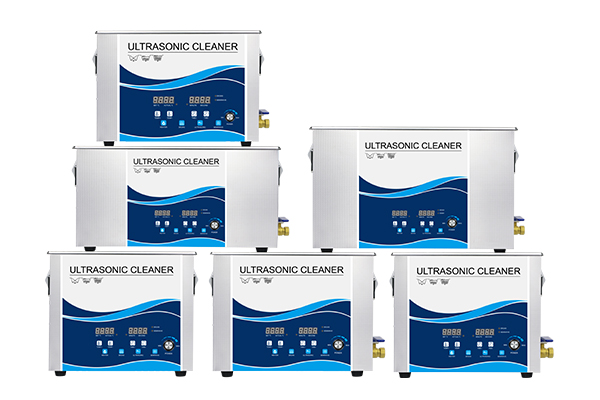
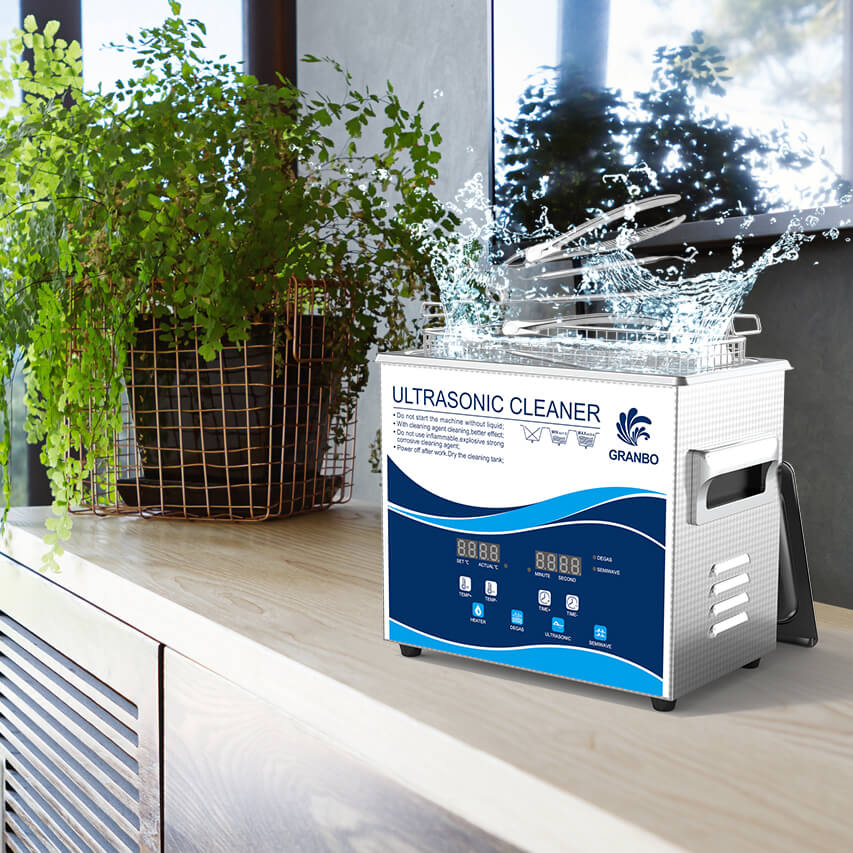
While the DIY route is rewarding, it also demands time, patience, and technical skill. If you’re looking for a ready-to-use solution that prioritizes safety, precision, and efficiency, commercial systems like the Granbo Ultrasonic Cleaner offer a professional alternative.
With advanced frequency control, intelligent multi-mode cleaning, and industrial-grade design, Granbo units are ideal for users who prefer high performance without the complexity of manual assembly. From household use to laboratory and production applications, Granbo cleaners deliver powerful results—with none of the guesswork.