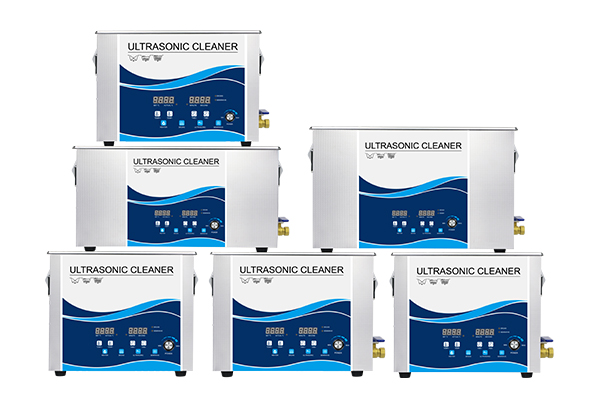
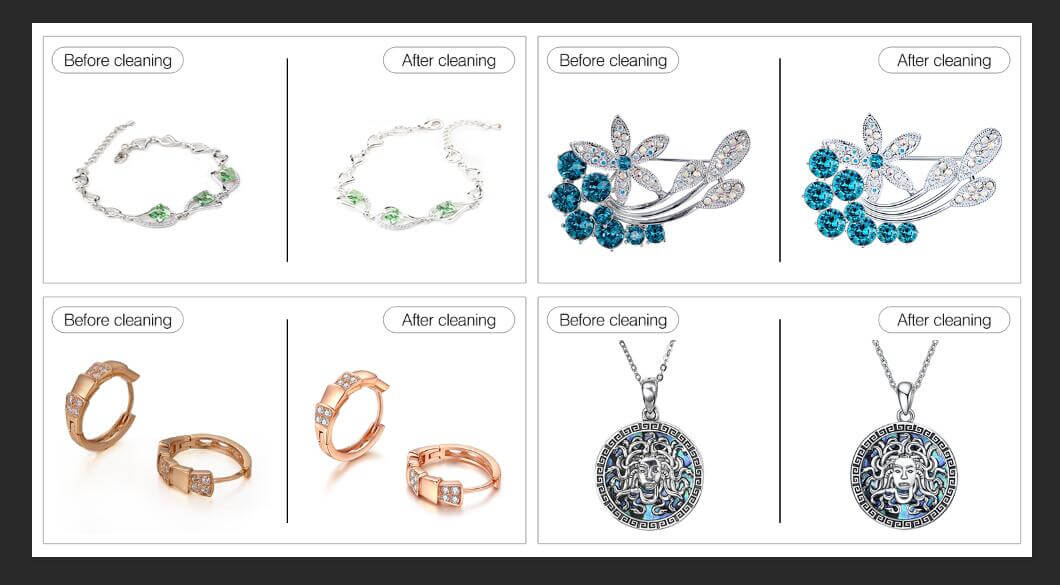
Jewelry is often intricate and delicate, with crevices that are hard to reach using conventional cleaning methods. That’s where ultrasonic cleaners shine. These devices use high-frequency sound waves and cavitation to remove dirt, oil, and residues from the surface and tiny spaces in jewelry—restoring brilliance without abrasive scrubbing.
However, to ensure both safe and effective cleaning, it’s important to follow the correct procedure and understand which types of jewelry are suitable for ultrasonic treatment.
1. Determine If Your Jewelry Is Ultrasonic-Safe
Before you begin, make sure your jewelry is appropriate for ultrasonic cleaning. While many types of metal and gemstone jewelry can be safely cleaned, others may be too soft, porous, or fragile.
Safe to Clean:
- Solid gold, silver, platinum – These precious metals are dense, non-porous, and chemically stable, making them ideal candidates for ultrasonic cleaning. They can tolerate both the vibration and cleaning solution without damage.
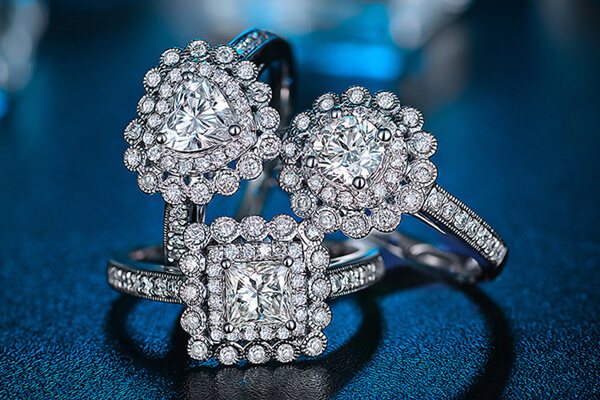
- Diamonds, rubies, sapphires – These gemstones rank high on the Mohs hardness scale and do not absorb water or contain internal fractures, making them suitable for deep ultrasonic cleaning.
- Stainless steel and titanium jewelry – Common in modern and minimalist designs, these metals resist corrosion and are tough enough to endure repeated ultrasonic exposure.
Not Recommended:
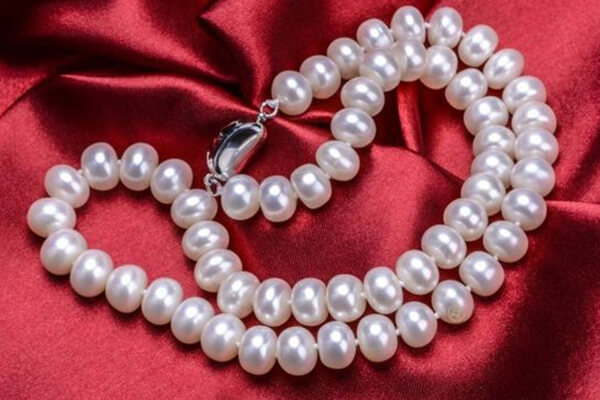
- Porous or organic stones (e.g., pearls, opals, turquoise, coral, amber, malachite): These materials have natural microscopic pores that can absorb moisture or chemicals, leading to discoloration, cracking, or structural weakening during ultrasonic cleaning.
- Treated or oiled gemstones (e.g., emeralds): Many of these stones are fracture-filled or treated with oils to enhance appearance. Ultrasonic cavitation can displace these treatments, leaving the stone looking cloudy or fractured.
- Costume jewelry with glued-in stones: Adhesives used in fashion jewelry may degrade or dissolve in the ultrasonic bath, causing stones to fall out or shift.
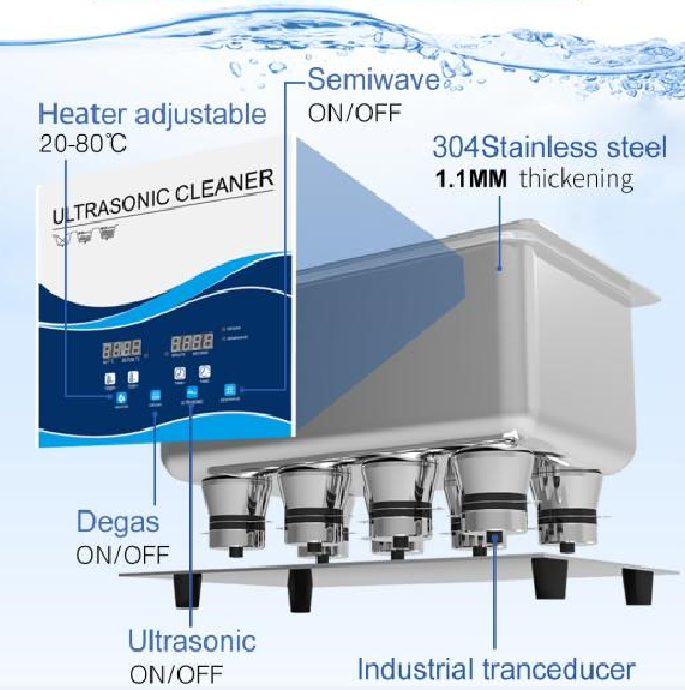
2. Prepare the Ultrasonic Cleaner
Set up your ultrasonic cleaner according to the manufacturer’s instructions:
- Place the unit on a stable, level surface away from water-sensitive electronics.
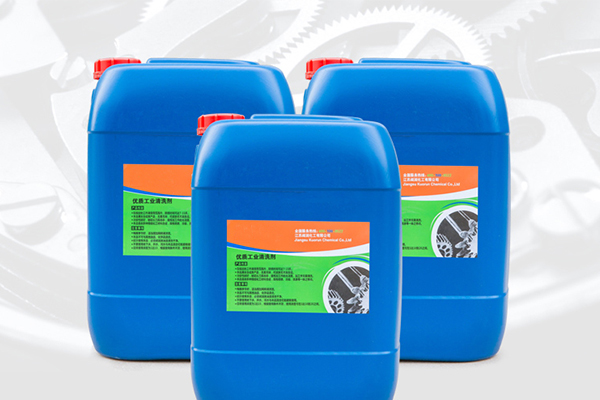
- Fill the tank with cleaning solution: Use distilled water mixed with an ultrasonic cleaning solution specifically formulated for jewelry. Avoid harsh chemicals or foaming detergents.
- Degas the solution (if your unit has a degas function) by running the cleaner for 5–10 minutes without items inside to remove trapped air that could reduce cavitation effectiveness.
3. Prepare the Jewelry for Cleaning
- Inspect the item: Check for loose stones, cracks, or delicate settings.
- Remove surface debris: Gently brush off any heavy dirt with a soft brush to improve cleaning efficiency.
- Separate items: Place different pieces in the provided basket or tray, avoiding overlap. Never place jewelry directly on the tank’s bottom, as this can damage both the item and the transducer.
4. Set the Cleaning Parameters
- Temperature: Most cleaning solutions work best at 40–60°C (104–140°F). If your unit has a heater, allow it to warm up before running the cycle.
- Cleaning time: Typically 3–10 minutes is sufficient. Start with a shorter cycle for delicate items and extend if needed.
- Optional features: Some units include pulse or sweep frequency modes for more uniform or intensified cleaning.
Setting the correct cleaning parameters is essential to achieving both safety and efficiency. The right combination of temperature, time, and optional features ensures that contaminants are removed effectively without overexposing delicate items to unnecessary stress. Careful adjustment not only improves cleaning performance but also helps extend the lifespan of both your jewelry and your ultrasonic cleaner.
5. Rinse and Dry the Jewelry
Once the cleaning cycle is complete:
- Remove the jewelry carefully using non-metal tongs or a plastic scoop.
- Rinse thoroughly with clean water to remove any residual cleaning solution.
- Dry the item gently with a lint-free cloth or let it air dry on a clean surface.
For pieces with intricate designs or tiny holes, you may use compressed air to blow out moisture.
6. Post-Cleaning Care and Storage
- Inspect the item again for any damage or loosened parts that may have occurred during cleaning.
- Polish gently if desired with a jewelry cloth to add extra shine.
- Store properly in a soft-lined jewelry box or pouch to prevent tarnish or scratches.
Final Notes
Cleaning your jewelry with an ultrasonic cleaner is an efficient and gentle method to restore its brilliance—when done properly. By using the right cleaning solution, following safety precautions, and avoiding unsuitable materials, you can enjoy professional-level results from the comfort of your home or workshop.
Whether you’re maintaining heirloom rings, sparkling up your favorite earrings, or refreshing a necklace’s shine, ultrasonic cleaning brings unmatched clarity and convenience to jewelry care.