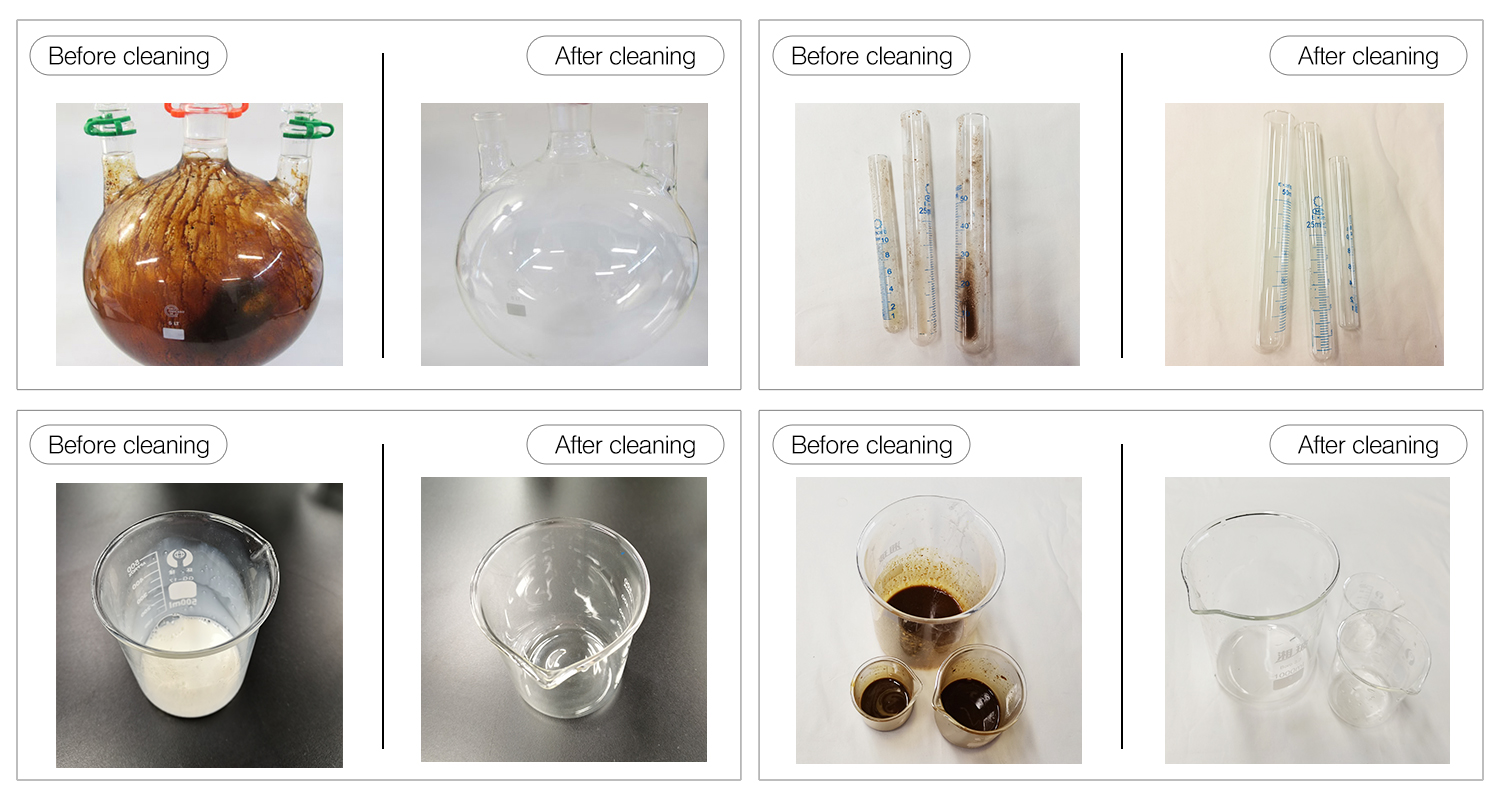
Ultrasonic cleaners have become indispensable tools across industries such as electronics, medical device maintenance, watchmaking, laboratories, automotive, and jewelry care. These devices use high-frequency sound waves to generate cavitation bubbles that deliver deep, thorough cleaning—especially in hard-to-reach areas.
While there are many commercial ultrasonic cleaners available on the market, DIY users with a background in electronics and hands-on assembly can build a custom ultrasonic cleaner themselves. Doing so not only saves costs but also allows for customization based on specific cleaning needs.
1. Understand the Core Components
Before starting the assembly, it’s essential to understand the main parts of an ultrasonic cleaner:
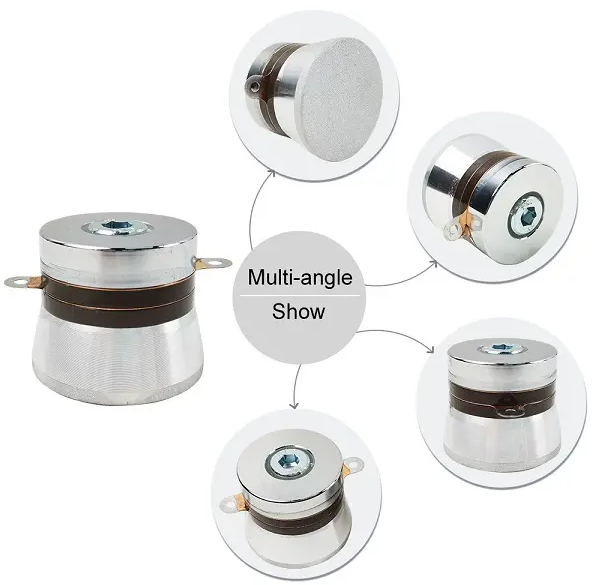
- Ultrasonic transducer: Converts electrical energy into mechanical vibrations—this is the core cleaning mechanism.
- Ultrasonic generator (driver circuit): Supplies the high-frequency AC power that drives the transducer.
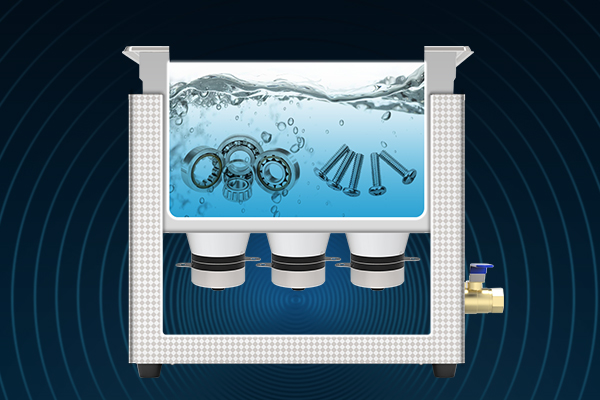
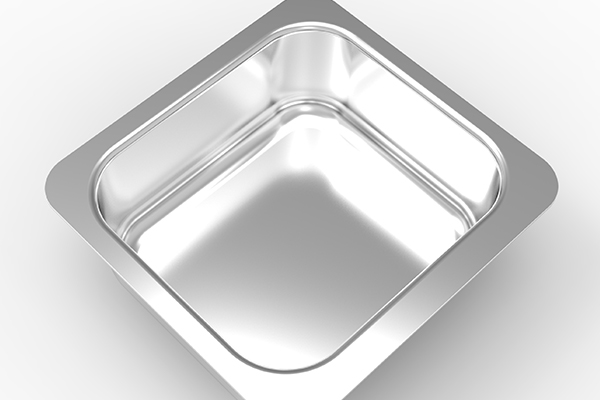
- Cleaning tank: Typically made of stainless steel, it holds both the cleaning solution and the items to be cleaned.
- Control system (optional): Includes timers, power regulation, and temperature control.
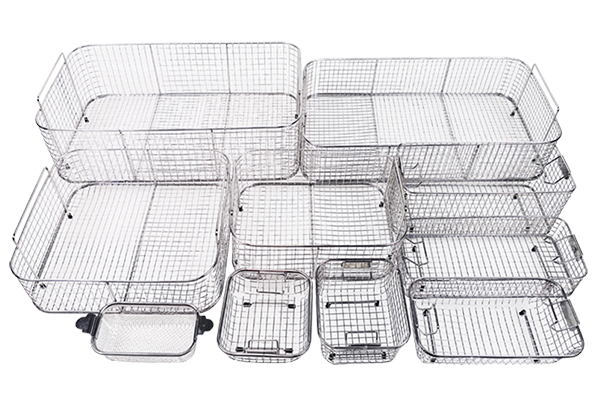
- Basket or rack: Suspends the items in the solution and prevents direct contact with the transducer surface.
- Power system and grounding: Ensures safe and stable electrical operation.
2. Materials and Tools You’ll Need
Core Components:
- Ultrasonic transducer (28kHz or 40kHz, 60–120W recommended)
- Ultrasonic driver board or generator
- Stainless steel tank (preferably 304-grade, ≥1.0 mm thickness)
- AC power cord, fuses, on/off switch, indicator light
- Heat controller or heating pads (optional)
- Control/display modules (timers, power knobs, etc., as needed)
Together, these core components form the essential structure of an ultrasonic cleaner, allowing electrical energy to be converted into high-frequency mechanical vibrations that interact with a liquid medium—ultimately producing the cavitation effect responsible for deep and efficient cleaning across a wide range of materials and industries.
Tools:
- Soldering iron
- Multimeter
- Heat-resistant industrial glue
- Insulating materials
- Screwdrivers, wrenches
- Safety gloves and eye protection
3. Step-by-Step Assembly Instructions
Step 1: Prepare and Mount the Transducer
- Surface preparation: Lightly sand and degrease the bottom of the tank and the transducer contact surface using methanol or acetone.
- Glue bonding:
- Apply industrial-grade heat-resistant adhesive evenly to the transducer base.
- Press it firmly onto the tank bottom.
- Use a clamp to apply pressure and bake at 60–80°C for 2 hours, then let it cure at room temperature for 24 hours.
- Number of transducers: Use 1–4 depending on tank size and desired power output.
Step 2: Connect the Driver Circuit
- Solder the transducer wires to the output terminals of the driver board.
- Wire the input power (220V or 110V) through a fuse and switch to the driver board’s input.
- Mount the driver board onto an insulated surface—avoid direct contact with metal.
- Include a circuit breaker or surge protector for safety.
Step 3: Install and Secure the Tank
- Place the stainless steel tank on a vibration-absorbing base or inside a metal chassis with shock absorbers.
- Leave room beneath the tank for the transducers.
- Add a basket or perforated tray to hold cleaning items—this protects the transducer surface from direct impact.
Proper installation of the tank ensures mechanical stability, minimizes vibration interference, and protects both the transducers and surrounding components—laying a reliable foundation for consistent cleaning performance and long-term operational safety.
Step 4: Add Optional Control Modules
You can integrate smart features like:
- Timer controller: Adjustable cleaning duration (e.g., 0–30 minutes)
- Power adjustment module: Use PWM or voltage control for variable intensity
- Temperature control + heating element: Useful for applications like oil removal or protein breakdown
4. Testing and Tuning
- Fill the tank with water and power on the system.
- Check for uniform cavitation: You should see evenly distributed fine bubbles. If available, perform an aluminum foil test to check for blind spots.
- Measure impedance of the transducer—it should typically fall between 250–300 ohms.
- Verify electrical safety: Use a multimeter to confirm solid grounding, no leakage, and consistent voltage.
If you’re using a multi-frequency or sweep-frequency setup, fine-tune the generator output to match the transducer’s resonance point.
5. Safety Tips and Maintenance Notes
- Never operate the cleaner dry—always ensure the tank contains liquid to protect the transducer.
- Use appropriate cleaning fluids: Avoid flammable or highly corrosive solutions.
- Ensure proper grounding for all metal parts.
- Keep electronics protected from spills, and install waterproof barriers if necessary.
- Inspect regularly: Check wiring, glue joints, and the tank base periodically to avoid damage.
A Blend of Engineering and Creativity
Assembling an ultrasonic cleaner is more than just connecting parts—it involves electrical engineering, mechanical mounting, thermal control, and material science. When done correctly, a DIY ultrasonic cleaner can deliver performance comparable to many commercial units, tailored to your specific needs.
For advanced applications, consider adding modules for multi-frequency cleaning, degassing, sweep-frequency control, or automatic fluid exchange, bringing your machine closer to a professional-grade system.
Not Ready to Build? Here’s Another Option
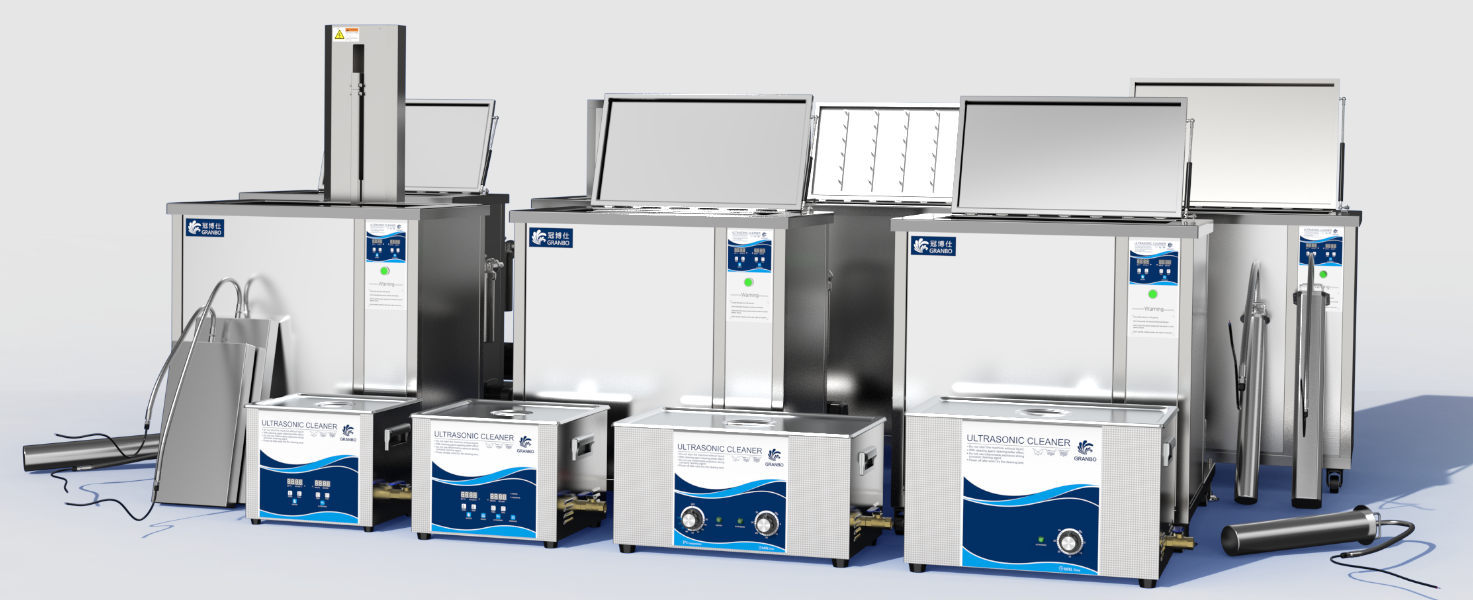
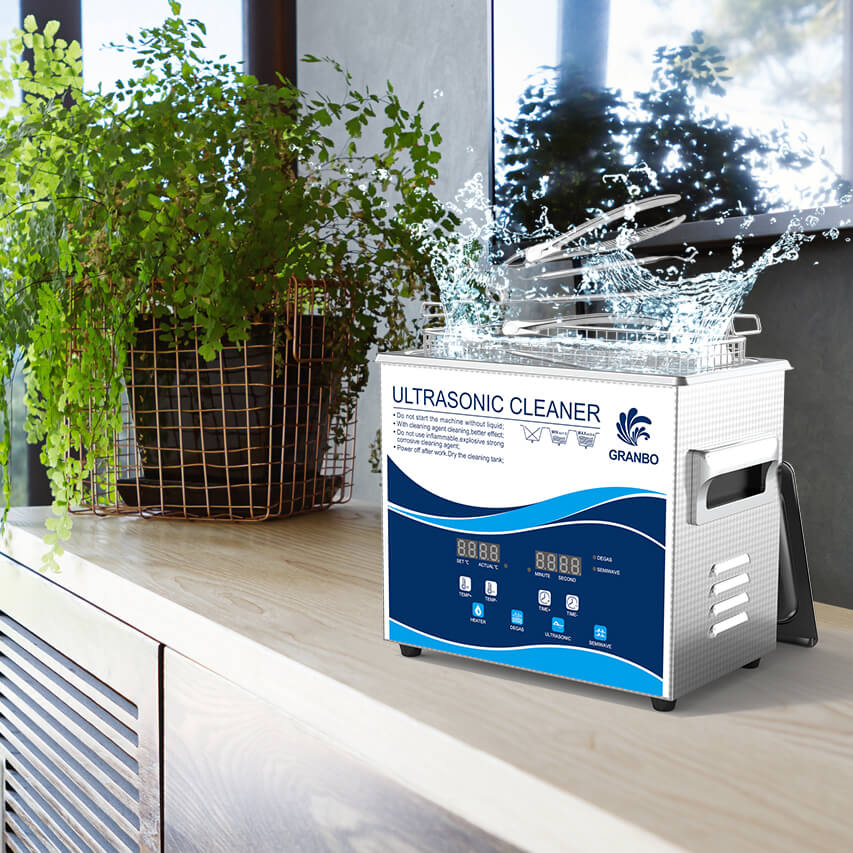
While building an ultrasonic cleaner can be a rewarding experience for technically skilled users, it does involve time, precision, and a learning curve. For those looking for reliable, high-performance, ready-to-use systems, commercial brands like Granbo offer professional-grade ultrasonic cleaners with robust design, multi-frequency control, and intelligent features—ideal for everything from household tasks to industrial-grade cleaning operations.
Choosing a finished unit ensures optimal safety, performance, and convenience—without the complexity of DIY assembly.