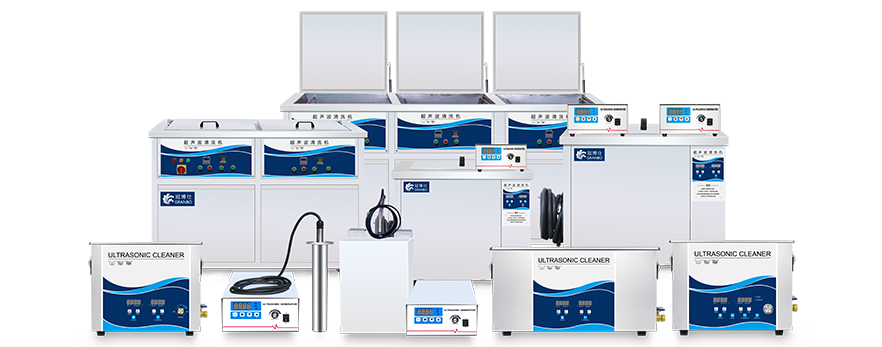
Ultrasonic cleaners are incredibly versatile machines, capable of cleaning everything from delicate jewelry and dental tools to automotive parts and industrial components. But one of the most important factors in how well they perform isn’t the machine itself—it’s what you use in it.
Whether you’re a hobbyist, mechanic, or professional technician, using the right liquid and cleaning agent is key to achieving the best results. In this guide, we’ll explore what to put in your ultrasonic cleaner, when to use jars, which solutions work best for various applications, and how to prevent issues like flash rust or carbon buildup.
1. Can You Use Just Water?
Yes—but for limited results. Distilled water is the best base fluid for most ultrasonic cleaners because it prevents mineral deposits and scale from forming in your tank or on your parts. However, plain water alone doesn’t offer much cleaning power. For most applications, it’s better to add a cleaning agent designed to help break down grease, oils, rust, or other contaminants.
2. General-Purpose Cleaning Solutions
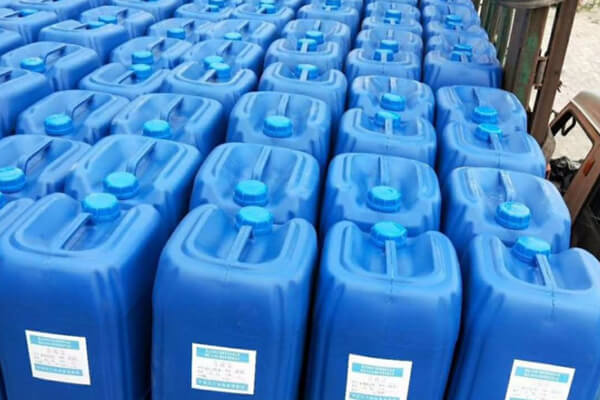
- Diluted Simple Green (or similar non-corrosive degreasers):
Excellent for metals and mechanical parts. It’s non-toxic, biodegradable, and very effective at cutting through grease, grime, and light corrosion. You’ll want to dilute it according to the label (typically 10:1 or 15:1 with water). - Dawn Dish Soap + Water:
Great for milder cleaning tasks, such as removing light oil, dust, or dirt. It’s gentle and safe for many materials, but less effective on tough buildup or protectant sprays. - Ultrasonic Cleaning Concentrates:
Many manufacturers offer solutions tailored to specific materials like stainless steel, aluminum, or brass. These are usually more efficient and produce less foam, which can improve cavitation.
3. Dealing with Rust and Corrosion
If you’re working with parts that have light surface rust or corrosion:
- Evapo-Rust:
Safe, non-acidic, and highly effective at removing oxidation. You can use it directly in the tank or in a jar if you want to keep your main tank cleaner. Be sure to rinse and dry the parts thoroughly after cleaning. - White Vinegar (with caution):
Mildly acidic and can dissolve rust, but it must be neutralized afterward (e.g., with baking soda and water rinse) to prevent flash rust. Not recommended for prolonged cycles or for delicate parts. - Chelating or passivating agents:
These are available in commercial rust removal products and often safer for use with ultrasonic cleaners than acids.
4. Removing Carbon Buildup
For carbon buildup on valves or combustion-related parts, ultrasonic cleaning can struggle without the right chemistry. You might try:
- Heavy-duty degreasers or carbon removers made for automotive applications
- Solvent-compatible ultrasonic machines with solutions like Berryman Chem-Dip (if your unit supports it)
- Paint stripper as a last resort, applied externally and followed by ultrasonic rinsing
That said, ultrasonic cavitation works best when paired with chemistry—you’re not just scrubbing with bubbles; you need the right compound to loosen and dissolve heavy carbon.
5. Using Jars Inside the Tank
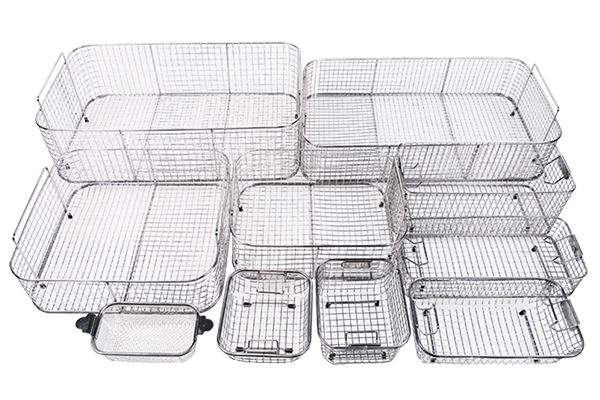
Using glass or metal jars inside your ultrasonic tank is a great way to:
- Protect the main tank from contamination when cleaning parts with heavy grease, rust remover, or chemicals that may degrade the tank lining.
- Clean multiple items in different fluids simultaneously, such as one jar for degreasing and another for rust removal.
- Preserve expensive or volatile cleaning agents by keeping them separate in smaller quantities.
- Place jars on a basket, rack, or rubber mat, never directly on the tank bottom, as this can damage the transducers and reduce performance.
6. Preventing Flash Rust
After cleaning steel or iron-based parts, flash rust can form quickly due to water exposure. To prevent this:
- Dry parts immediately after cleaning
- Apply a light coating of oil (e.g., WD-40, machine oil)
- Consider using a rust inhibitor rinse as a final ultrasonic cycle
- Store cleaned parts in sealed bags or dry containers
You can also heat-dry parts quickly or use compressed air to remove moisture trapped in crevices.
7. Tips for New Users
If you’re just getting started with ultrasonic cleaning, keep these in mind:
- Always degas your solution before cleaning—run the unit for 5–10 minutes without parts to remove air bubbles.
- Use distilled water to protect your tank and prevent spotting.
- Avoid foamy detergents, as excess foam can reduce cavitation efficiency.
- Don’t overfill or overload the tank—it reduces cleaning effectiveness.
- Maintain your unit by emptying and cleaning the tank regularly.
Final Thought
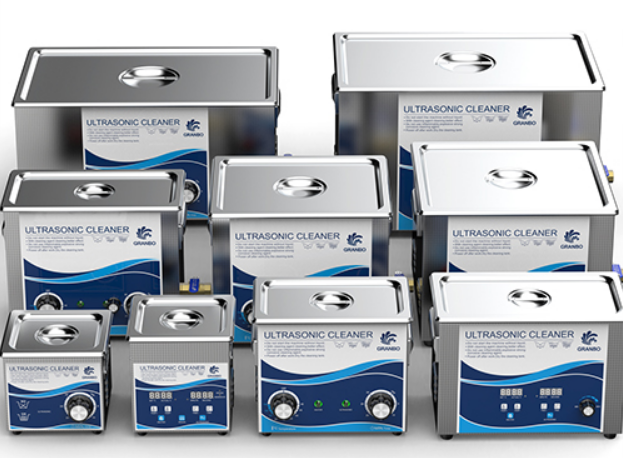
An ultrasonic cleaner is only as effective as the solution and method you use with it. While the machine provides the mechanical power through cavitation, it’s the cleaning liquid that determines what types of contaminants can be broken down, how safe the process is for the material, and how clean your results will be.
Whether you’re degreasing metal tools, restoring vintage parts, or refreshing delicate components, taking the time to choose the right fluid, temperature, and cycle duration will significantly improve your results—and prolong the life of both your cleaner and the items you’re cleaning.
With the right approach, your ultrasonic cleaner becomes a precision tool, not just for cleaning, but for preserving quality, consistency, and performance across a wide range of applications.

