Many people invest in ultrasonic jewelry cleaners but aren’t sure how to use them correctly—or worry that improper use might damage their treasured pieces. In reality, ultrasonic cleaning has long been a trusted method in professional jewelry stores, watch repair shops, and high-end workshops. With the right approach, you can achieve sparkling results from the comfort of home.
Proper use not only restores brilliance and shine, but also prevents long-term wear issues like tarnishing, oxidation, or bacterial buildup caused by regular use.
1. Choose the Right Jewelry and Cleaning Solution
Not all jewelry is suited for ultrasonic cleaning. Understanding which materials are safe—and which should be avoided—is the first step to protecting your collection.
Recommended for Ultrasonic Cleaning:
- Hard gemstones like diamonds, sapphires, rubies, citrine, garnet
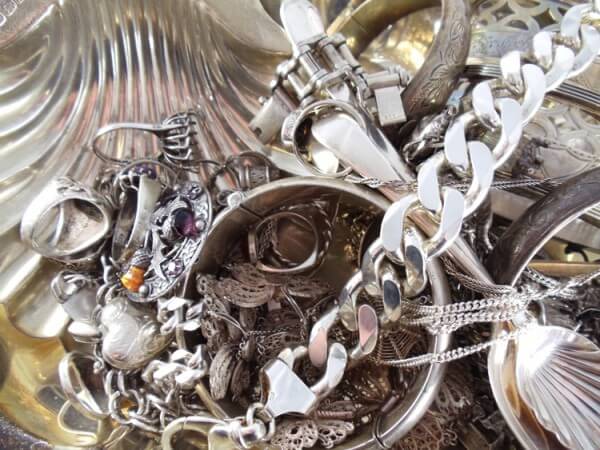
- Precious metals including gold, platinum, white gold, K gold
- Sterling silver (with proper cleaning fluid)
These materials are dense, durable, and resistant to cavitation effects, making them ideal for ultrasonic cleaning.
Not Recommended:
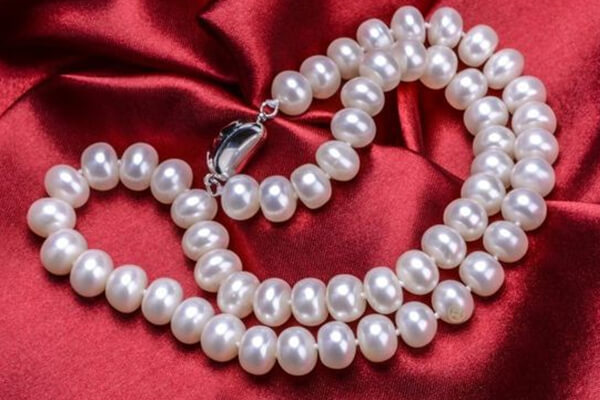
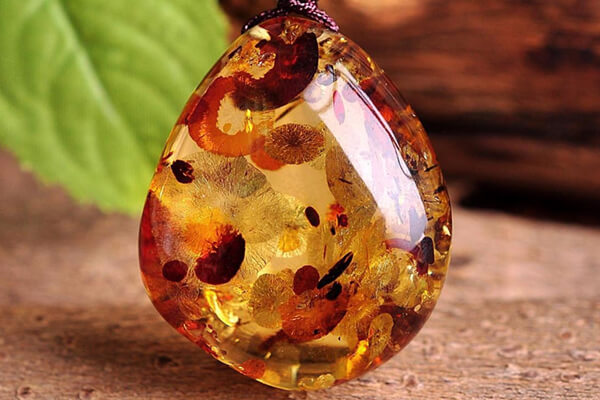
- Porous or organic stones (pearls, turquoise, coral, malachite, opals)
- Electroplated or color-treated jewelry (antique finishes, imitation gold/silver)
- Pieces with loose prongs or glued-in stones
Porous and treated stones can absorb moisture or react chemically, leading to discoloration, surface flaking, or even cracking. Similarly, glued-in stones may loosen under vibration. For these items, stick to soft cloth cleaning.
Recommended Cleaning Solutions:
-
- Distilled water + a few drops of mild, neutral dish soap
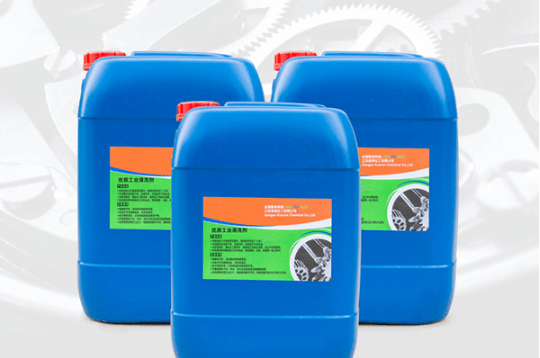
This is one of the safest and most accessible combinations. It’s suitable for most types of jewelry, including gold, platinum, stainless steel, and hard gemstones. The soap lowers surface tension, allowing cavitation bubbles to clean more efficiently. - Commercial ultrasonic jewelry cleaning solution (diluted)
These solutions are specially formulated for use in ultrasonic devices and are typically free from acids, ammonia, and abrasives. Always follow the manufacturer’s dilution instructions—overly concentrated mixtures may damage metal finishes or loosen adhesives.
- Distilled water + a few drops of mild, neutral dish soap
2. Step-by-Step: How to Clean Your Jewelry Safely
(1) Prepare the Cleaning Solution
Fill the tank with warm water (~40°C / 104°F), then add a few drops of neutral detergent or a diluted jewelry cleaning solution. Stir gently to mix.
(2) Place Jewelry in the Basket
Put your jewelry in the provided mesh basket—not directly on the tank’s base—to avoid scratching and resonance damage. Leave space between items to prevent contact during vibration.
(3) Set Cleaning Parameters
- Time: 3–5 minutes is usually enough. For stubborn residue, extend to 7–10 minutes.
- Temperature: If your machine has a heater, 40–50°C improves effectiveness.
- Optional features: Use degas, sweep frequency, or pulse modes if your unit offers them.
(4) Start the Cleaning Cycle
Activate the cleaner. You’ll notice tiny bubbles rising—this is cavitation at work. Avoid placing your hands in the solution while the device is running.
(5) Rinse Thoroughly
After the cycle finishes, rinse your jewelry under clean running water or in a separate basin of distilled water to remove any detergent residue.
(6) Dry and Store
Use a soft cloth to gently dry each piece, or blow-dry with cool air to remove water from crevices. Store items separately to avoid scratching.
3. Usage Tips and Safety Reminders
- Always inspect your jewelry first. If a stone is loose or a prong is bent, repair it before cleaning.
- Never operate the cleaner without liquid in the tank—this can damage the transducer.
- Replace cleaning fluid regularly and keep your tank clean between uses.
- Avoid mixing materials (e.g., cleaning gold and silver together) to prevent potential reactions.
- Clean once every 1–2 weeks to avoid over-cleaning and material fatigue.
4. Why Use an Ultrasonic Cleaner for Jewelry?
An ultrasonic cleaner offers more than just visual cleanliness—it restores value and extends the life of your jewelry.
Restores Shine
The cavitation process dislodges oils, sweat, dust, and residue from tiny crevices and under stone settings, making even older jewelry look polished and new.
Reaches Tiny Details
Unlike manual cleaning, ultrasonic waves clean under prongs, inside chains, and between links—areas brushes simply can’t reach.
Gentle Yet Thorough
Because there’s no need for brushes or scrubbing, your jewelry is protected from scratches and abrasions, making ultrasonic cleaning ideal for delicate filigree and polished surfaces.
Safe and Eco-Friendly
With just warm water and mild detergent, ultrasonic cleaning avoids harsh chemicals, making it safer for your skin and the environment.
Multi-Functional
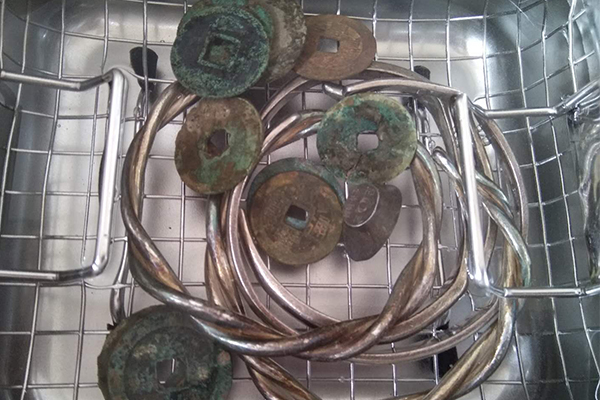
Many ultrasonic cleaners can also be used for eyeglasses, watchbands, razors, dentures, coins, and other fine objects—offering great value and versatility.

Final Note: Jewelry Care Made Simple
Learning how to use an ultrasonic jewelry cleaner properly opens the door to professional-grade results right at home. By selecting safe materials, using the right solution, and following a step-by-step process, you can restore your jewelry’s brilliance while protecting it for years to come.
Whether it’s your wedding band, a favorite necklace, or everyday earrings, routine ultrasonic cleaning is one of the simplest ways to keep them sparkling like new.
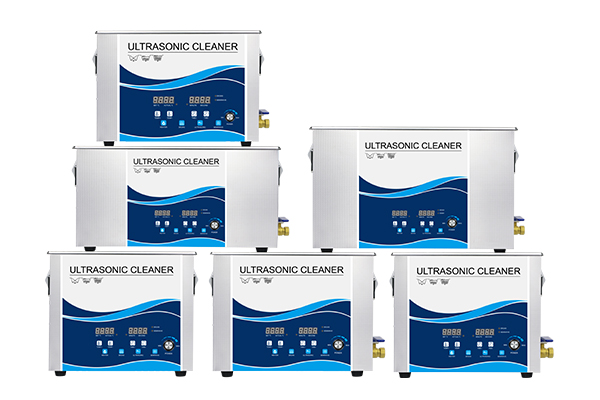
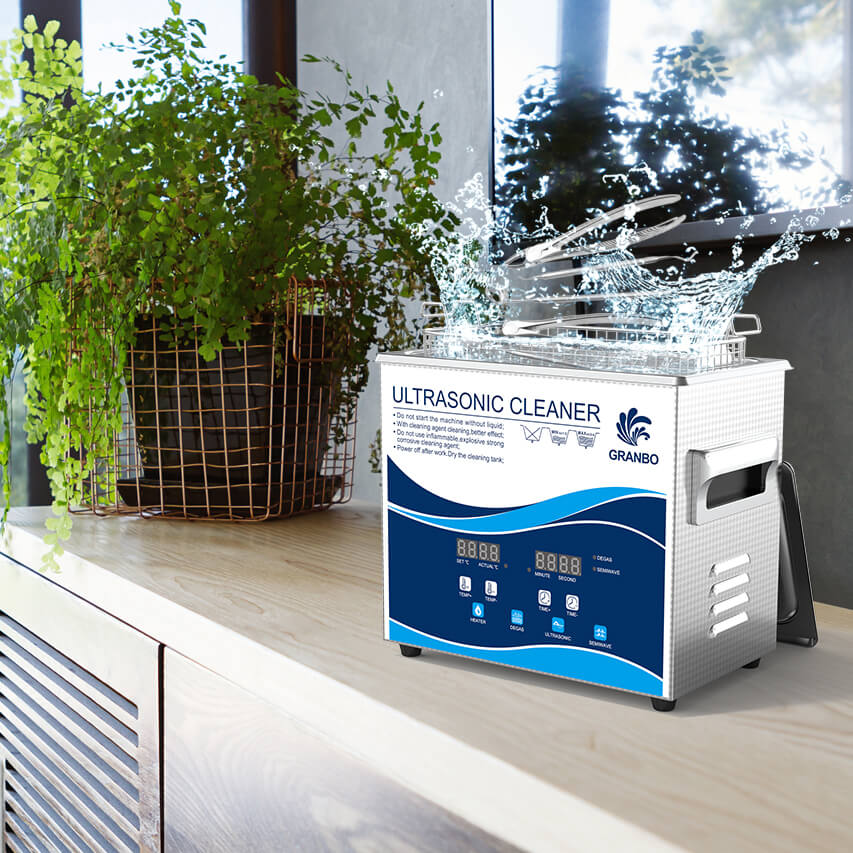
Granbo ultrasonic cleaners stand out in the jewelry care field for their high-frequency precision, adjustable multi-mode settings, and accurate temperature control. Built for both delicate detailing and stubborn residue removal, they combine smart features with ease of use—making them ideal for diamonds, gold, platinum, and more. Whether at home or in a workshop, Granbo delivers safe, effective, and professional-level cleaning results you can trust.