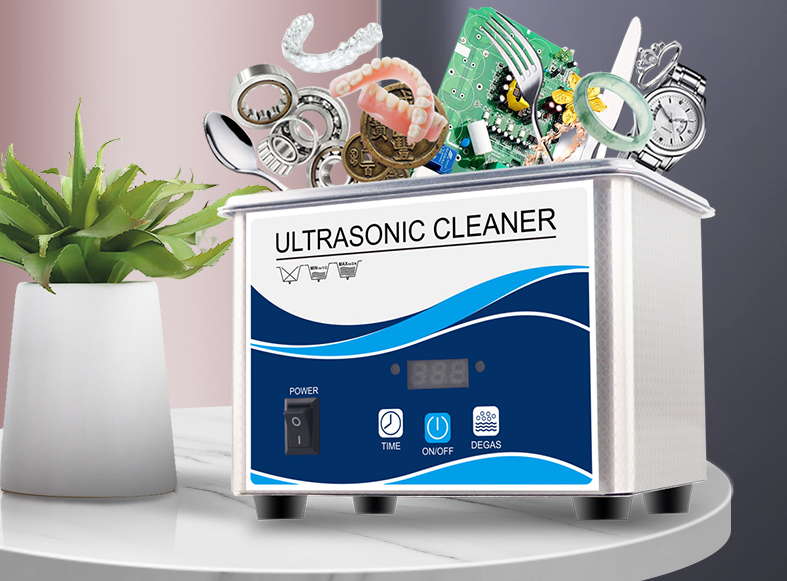
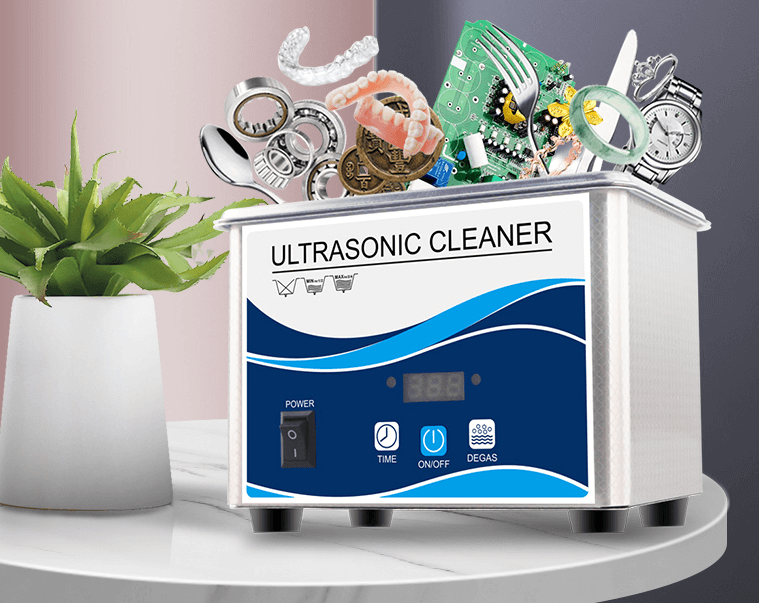
Ultrasonic cleaners are widely appreciated for their ability to deliver deep, precise, and damage-free cleaning for a variety of items—from laboratory instruments and mechanical parts to jewelry and surgical tools. Ultrasonic cleaners are powerful and precise tools used across industries and households to clean intricate objects thoroughly. By generating high-frequency sound waves in a cleaning solution, they create millions of microscopic cavitation bubbles that implode against surfaces—removing dirt, grease, oil, oxidation, and even microscopic particles. Whether you’re cleaning jewelry, dental tools, lab glassware, or mechanical parts, knowing how to use an ultrasonic cleaner correctly ensures both effective cleaning and the safety of your items.
1. Start by Reading the User Manual
Before anything else, it’s essential to consult the user manual specific to your ultrasonic cleaner model. Although most units operate on the same core principle—using high-frequency sound waves to produce microscopic cavitation bubbles that remove contaminants—there may be model-specific features, limitations, or safety instructions. The manual typically outlines suitable cleaning solutions, recommended temperatures, cycle times, and maintenance routines.
2. Position and Set Up the Cleaner
Before turning on the cleaner for the first time, perform a basic inspection:
- Check that the power cord is intact, with no signs of fraying or exposed wires.
- Ensure all buttons, dials, or touchscreen panels are functional and responsive.
- Make sure the ultrasonic tank is clean and dry, with no leftover residue from previous usage or shipping.
- If your unit has ventilation grills or cooling fans, ensure these are unobstructed to avoid overheating during operation.
- If the model has rubber feet or vibration dampers, make sure they are securely attached and level.
3. Choose and Add the Cleaning Solution
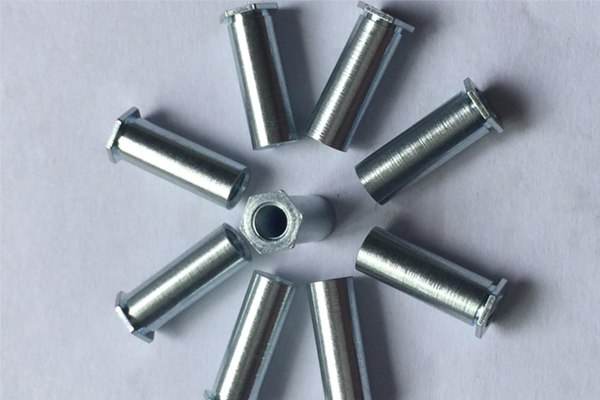
With the solution in place, check that the liquid level is sufficient to completely submerge the items you plan to clean—but not overfilled. Items should ideally be disassembled if possible, especially if they have multiple components or moving parts. Any visible debris or heavy residue should be manually removed before ultrasonic cleaning begins, which allows the machine to focus on removing microscopic contaminants from more difficult areas, such as blind holes, fine threads, and internal crevices.

- Identify the type of contamination
Choose a cleaning solution based on what you’re removing—grease, rust, oxidation, dust, or biological residue all require different formulas. - Check material compatibility
Ensure the solution is safe for the items you’re cleaning. Avoid acidic or strong alkaline solutions on sensitive materials like aluminum or coated parts. - Use distilled or deionized water
Whenever possible, mix your solution with distilled water to avoid mineral deposits and improve cleaning performance. - Dilute according to instructions
Follow the manufacturer’s recommended dilution ratio. Using too much or too little can reduce effectiveness or cause residue buildup.
4. Fill the Tank Correctly
Fill the ultrasonic cleaner tank with the prepared cleaning solution until it reaches the designated fill line or covers all the items completely. Avoid underfilling, which can reduce cavitation efficiency, and overfilling, which may cause spillage or stress on the unit. Proper filling ensures both cleaning performance and equipment safety—it’s a simple step that directly impacts your results.
- Add the solution until the tank reaches the marked fill line or covers your items entirely.
- Do not overfill the tank.
- For best results, use distilled or deionized water when possible to minimize mineral deposits.
5. Prepare Items for Cleaning
Placing items into the ultrasonic cleaner should always be done using a basket or tray, never directly on the tank bottom. This not only protects the transducers attached underneath but also ensures even distribution of ultrasonic energy. Items should be spaced out to avoid overcrowding, which can limit cleaning effectiveness by blocking ultrasonic waves from reaching all surfaces.
- Disassemble complex or multi-part items
For effective cleaning, take apart items like valves, nozzles, or tools that have removable parts. This ensures ultrasonic waves can reach internal surfaces and hidden crevices that would otherwise remain dirty. - Remove visible dirt or heavy contaminants first
Use a soft brush, cloth, or rinse to remove thick layers of grease, powder, or debris before ultrasonic cleaning. This reduces strain on the machine and helps the cavitation process focus on fine cleaning rather than bulk removal. - Arrange items with adequate spacing
Do not overcrowd the basket. Ensure each item is separated enough to allow ultrasonic waves and cleaning solution to circulate freely around all surfaces. Poor spacing can lead to uneven or incomplete cleaning. - Use the basket or holder provided with the cleaner
Always place items in the provided basket or holder—never directly on the tank bottom. Direct contact can damage the transducers under the tank and reduce cleaning efficiency due to poor sound wave distribution.
6. Load the Items Properly
- Use the provided basket or tray—never place items directly on the bottom of the tank.
- Ensure that items are spaced out and fully submerged, with gaps for the ultrasonic waves to circulate freely.
- Avoid overcrowding to ensure every surface is reached.
7. Set the Timer
- Ultrasonic cleaners typically include a digital or analog timer.
- Start with shorter cycles (2–5 minutes) for delicate items, and up to 20 minutes for heavily soiled ones.
- Refer to the manual or cleaning solution label for recommended durations.
8. Adjust the Temperature (if available)
- Use heat to improve cleaning efficiency
If your ultrasonic cleaner has a heating function, setting the solution to a warm temperature—typically between 40°C and 60°C (104°F to 140°F)—can significantly enhance the cleaning process by softening grease, oils, and other stubborn residues. - Avoid overheating sensitive materials
Be cautious when cleaning temperature-sensitive items, such as plastic components, circuit boards, rubber seals, or glued parts. Excess heat may warp, degrade, or detach delicate materials. - Preheat the solution when necessary
Let the cleaning solution reach the desired temperature before starting the ultrasonic cycle. Starting with a cold solution may reduce cavitation effectiveness in the first few minutes of cleaning.
9. Degas the Solution (if needed)
- When using fresh cleaning solution, run a degas cycle (if available) to remove trapped air bubbles. This step improves cavitation and cleaning efficiency.
- If your unit doesn’t have a degas button, run the cleaner for 5–10 minutes before inserting items.
10. Start the Cleaning Cycle
- Press the start button or switch to begin the cleaning process.
- You’ll often hear a buzzing or humming sound—this is the ultrasonic activity.
- Do not leave the machine unattended for long periods during operation.
The following is a video of using Guanbo ultrasonic cleaning machine to clean the chain for your reference:
11. Monitor the Cleaning Process
- Check the items periodically, especially during the first few uses, to avoid over-cleaning or damage.
- Gently agitate or reposition items if necessary to improve coverage.
12. Finish and Remove Items
- Turn off the ultrasonic cleaner properly
Once the cleaning cycle is complete, switch off the machine using the designated power button or timer control. If the unit has a heating function, ensure the heater is also turned off to avoid energy waste or overheating. - Let the items settle before removal
Allow the items to rest in the solution for about 30 seconds to 1 minute after the cycle ends. This helps particles fully detach and gives the liquid time to settle, reducing the chance of resuspending dirt when removing items. - Use protective tools when handling hot or sharp items
If the cleaning solution was heated, the items may be hot to the touch. Use tongs, tweezers, or heat-resistant gloves to avoid burns. For sharp or fragile components, handle with extra care to prevent injury or damage. - Check items for residual debris
Inspect each item briefly as you remove it. If some surfaces still appear dirty, you may need to run a short second cycle, especially for heavily contaminated or complex parts.
13. Rinse and Dry the Items
- Rinse cleaned items under clean running water to remove detergent residue or loosened debris.
- For sensitive items, rinse with distilled water to avoid spotting.
- Dry thoroughly using lint-free cloths, compressed air, or drying cabinets, depending on the material.
14. Clean and Maintain the Ultrasonic Cleaner
- After use, empty the tank and wipe it clean with a soft cloth.
- Rinse out any remaining solution or residue.
- Avoid using abrasives or sharp tools to clean the tank, as this can damage the transducers.
- Regularly inspect the power cord and housing for wear or damage.
Bonus Tips for Best Results
- Use ultrasonic cleaning solutions designed for specific materials like metal, glass, ceramics, or electronics.
- Replace the solution regularly, especially when it becomes cloudy or discolored.
- Don’t run the unit with an empty tank—this can damage the machine.
- For multiple small parts, consider using mesh baskets or compartmented trays to keep them organized.

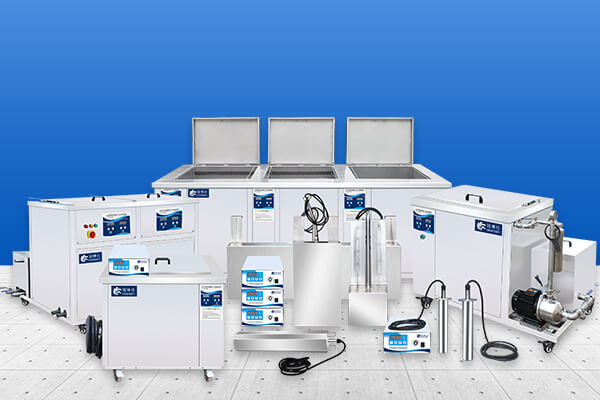
Granbo ultrasonic cleaning machines
Granbo is a high-tech enterprise focusing on ultrasound technology research and development, innovation, production, sales and technical services as a whole. With high quality products, advanced technology, and perfect pre-sales, sales and after-sales services, Granbo provides the industry and customers with various modes of business cooperation, such as agency distribution, brand agency, technical services, etc., with a view to mutual benefit and win-win business opportunities, Granbo is looking forward to creating brilliance with you!
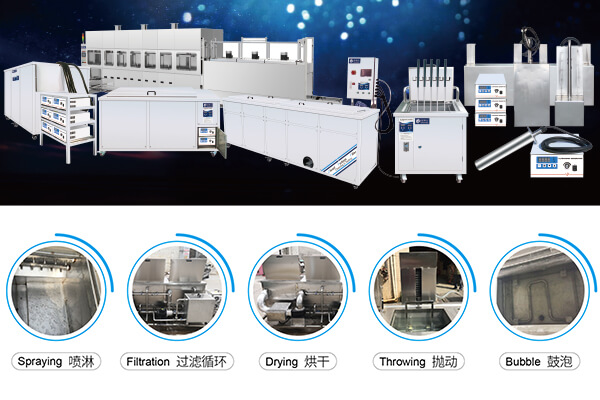
Granbo ultrasonic cleaning machines are widely used in various biomedical laboratories, mechanical equipment and processing enterprises, food and catering enterprises, electronic equipment and commercial fields.
Granbo ultrasonic cleaning machine 20 major product series: home series, commercial series, industrial series, semi-automatic series, fully automatic series, double-slot series, three-slot series, four-slot series, five-slot series, desktop industrial machine series, mechanical timing series, digital temperature adjustment series, professional field series, frequency conversion series, high frequency series, silent series, power adjustment series, P series, large single-slot industrial series, large single-slot with filter series;
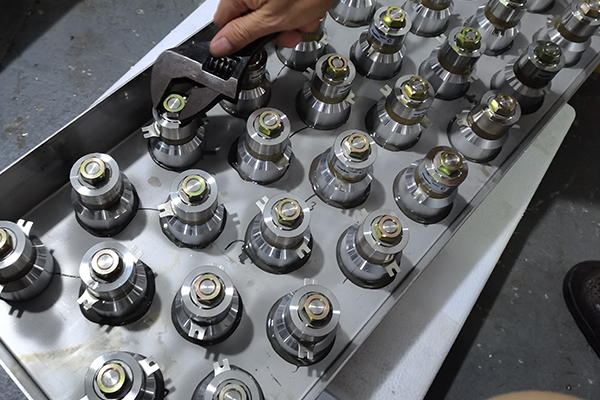
Ultrasonic cleaning machine equipment peripherals and accessories: ultrasonic vibration plate, ultrasonic vibration rod, ultrasonic generator, ultrasonic controller, ultrasonic vibration head, ultrasonic cleaning machine cleaning basket, ultrasonic cleaning machine cleaning liquid;
Ultrasonic cleaning machine customization service: according to your various requirements, our factory customizes ultrasonic cleaning machines for you;
Ultrasonic cleaning industry supporting solutions: after project evaluation and environmental investigation, we provide you with a complete set of industry cleaning solutions.

End of Guide
Using an ultrasonic cleaner is simple and incredibly effective when done correctly. By applying the above steps along with your cleaner’s manual, you can ensure thorough and damage-free cleaning of delicate or complex objects.
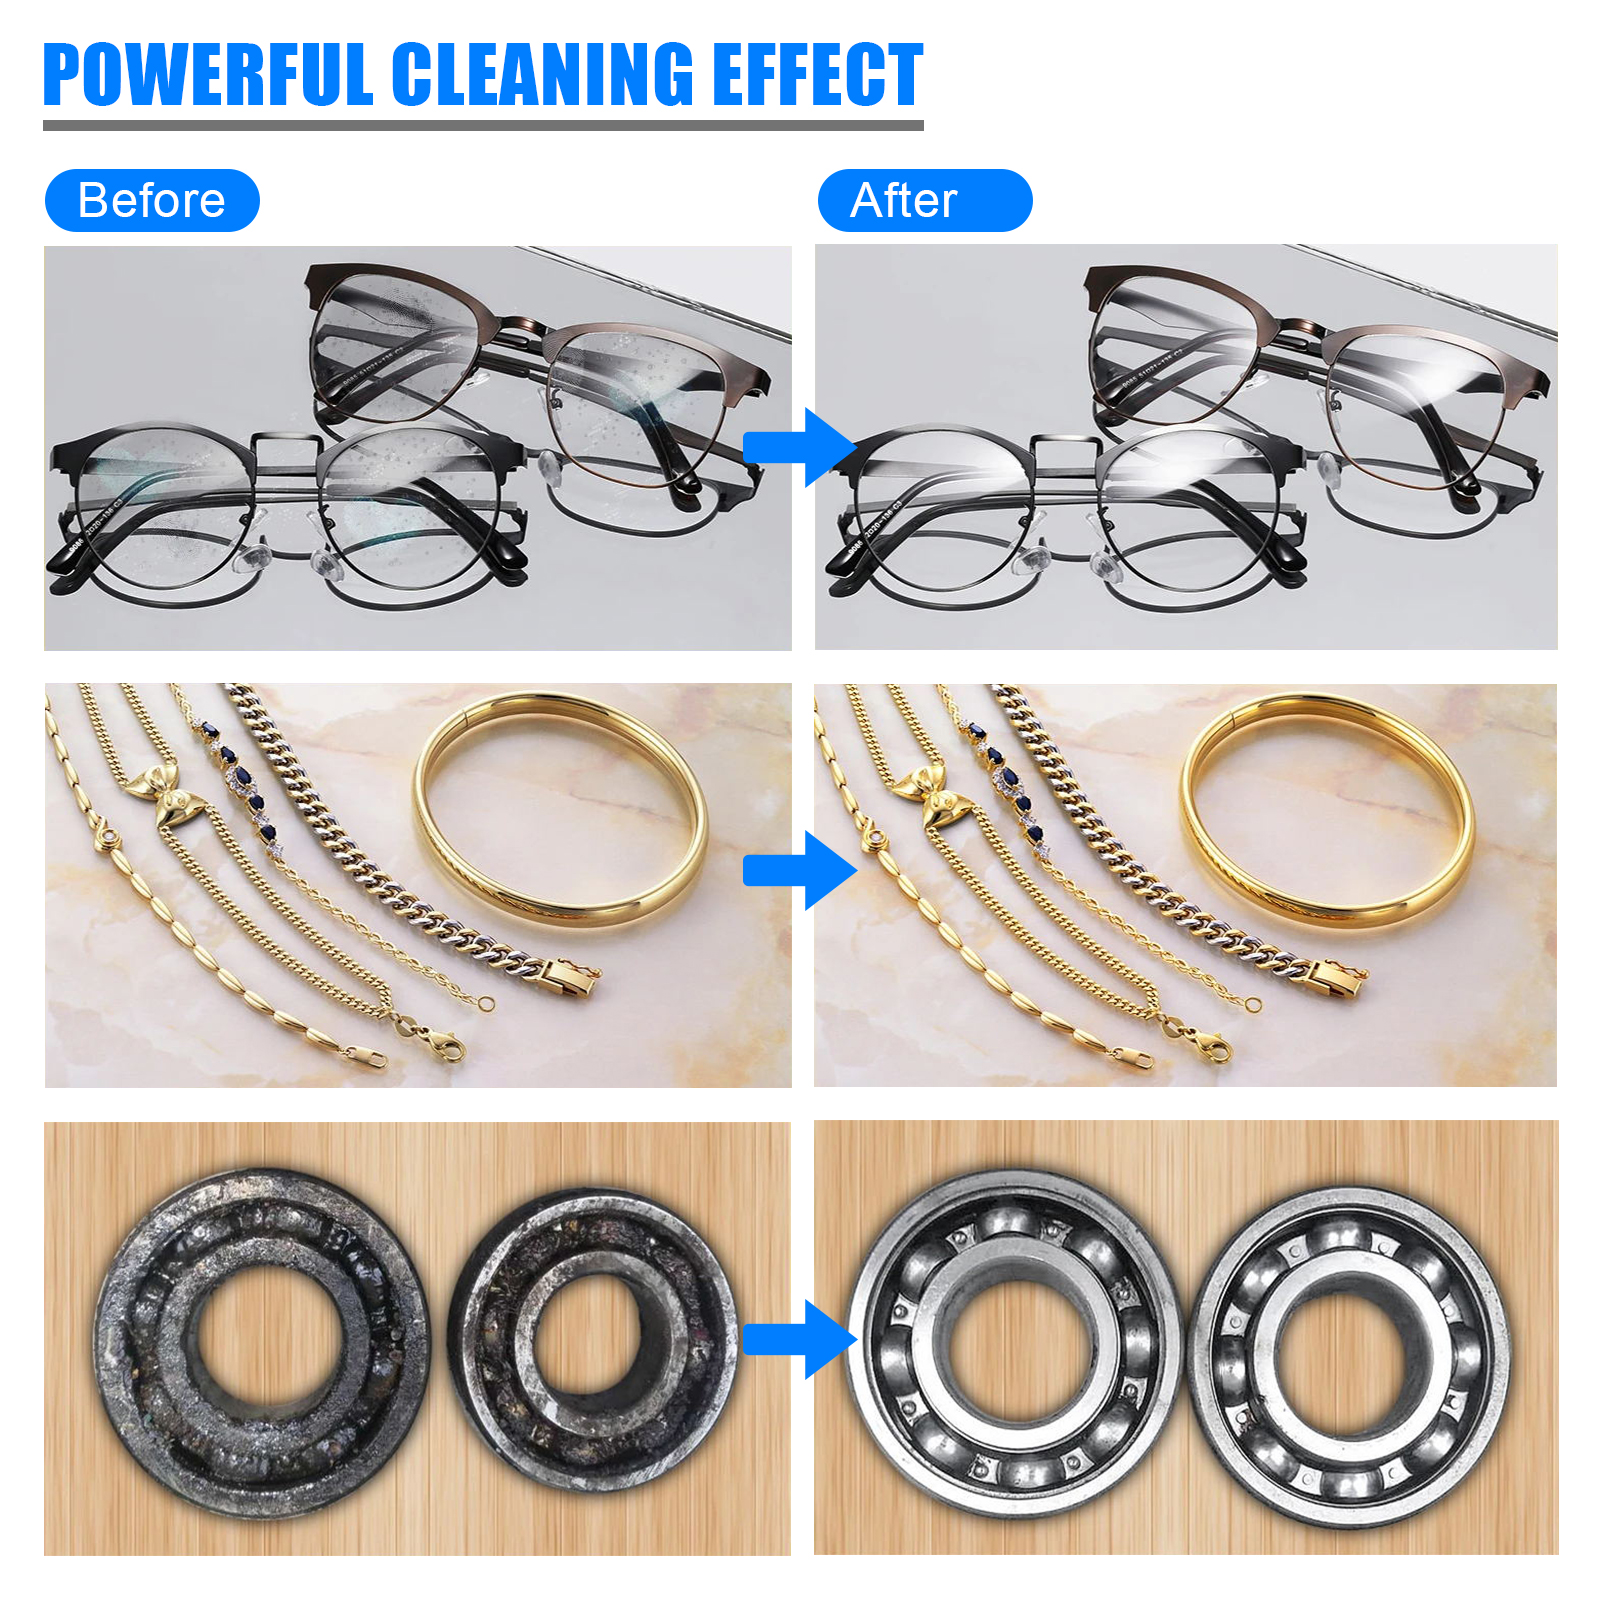
From jewelry and lab equipment to automotive and electronic components, ultrasonic cleaners provide a powerful non-contact cleaning method that saves time and reduces manual labor—making them a valuable addition to any workspace.