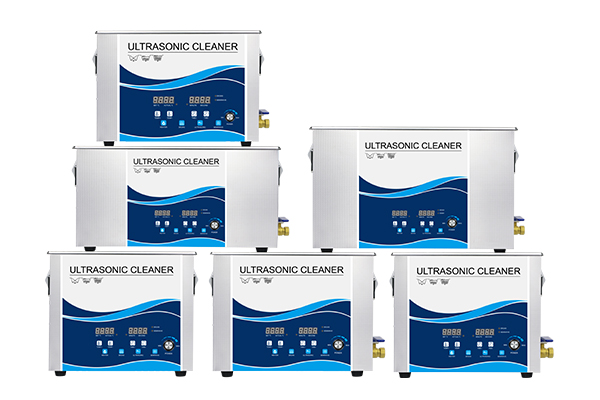
People flock to ultrasonic cleaners because they’re simple—drop your item in, add a liquid, and flip a switch. But when it comes to additives, especially something as common as vinegar, it’s worth pausing. Vinegar is acidic, affordable, and sometimes pushed as a go-to for tackling rust or mineral buildup. But ultrasonics aren’t just stirring solutions—they’re amplifying chemical reactions. Understanding how vinegar affects your cleaner, your items, and the tank itself can help you choose wisely.
Why Add Vinegar (Sometimes)
Ultrasonic cleaners rely on cavitation: microscopic bubbles that implode with force, lifting away dirt, corrosion, and grease. Vinegar—a mild acetic acid—can gently accelerate this on stubborn tarnish or mineral scales, especially on metals like brass or chrome. Hobbyists often report success using a 50:50 mix of white vinegar and water, followed by a short ultrasonic cycle for electronic parts or plumbing fittings.
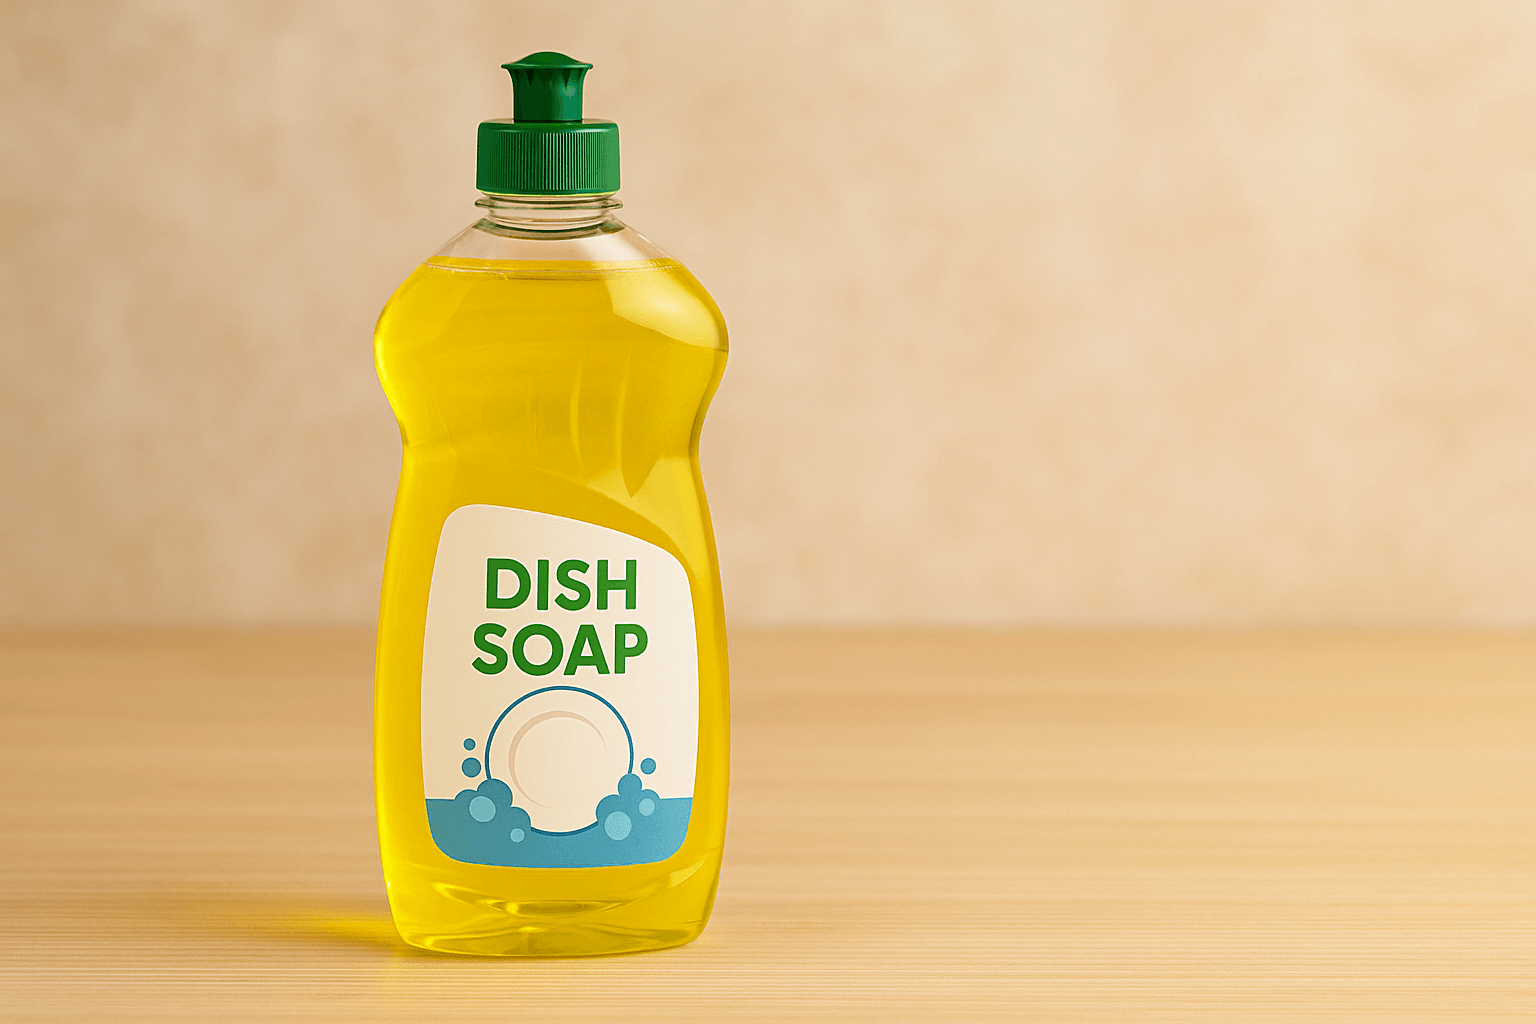
In forums, users describe pairing vinegar with bleach-free surfactants (e.g. mild dish soap) to amplify cleaning without damaging rubber or plastic components.

Potential Effects on Your Ultrasonic Tank
However, vinegar doesn’t just target grime—it can quietly erode your stainless steel tank over time. For example, some forum users caution that even brief, repeated use may weaken brass or tank integrity if not properly neutralized afterward.
To stay safe, experienced users suggest:
Short, controlled cycles—3–5 minutes max
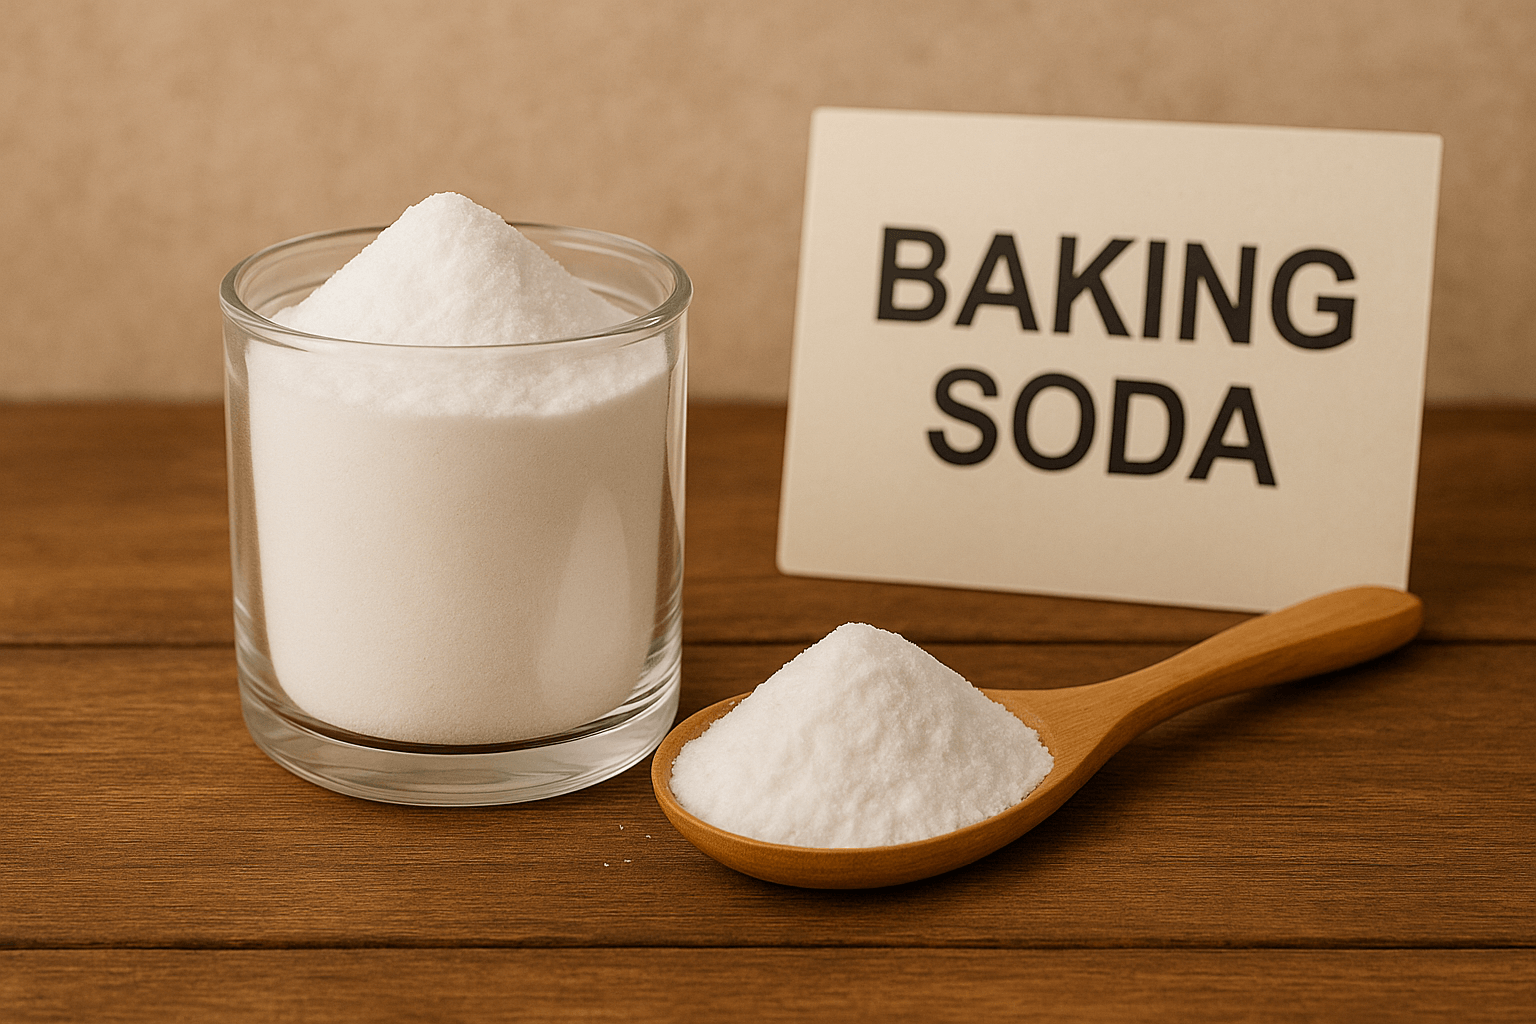
Complete neutralization with baking soda afterward
Dedicated containers inside the tank to contain vinegar mixtures
These strategies help isolate the acid, preventing long-term corrosion to the machine.
When Gentle Rinse Is Better
Not all cleaning jobs require the full force of concentrated solutions or aggressive chemical reactions. In fact, for many delicate items—like antique coins, jewelry with glued settings, lenses, or coated optical parts—a gentle rinse is not just “enough,” it’s essential. In these cases, using only distilled water or a mild solution like diluted baking soda can prevent irreversible damage while still benefiting from the ultrasonic cavitation effect.
Ultrasonic cleaners work by creating microscopic bubbles that collapse with force, dislodging dirt and grime from surfaces and crevices. This means even plain water can clean surprisingly well, especially when aided by warmth and a few minutes of cycle time. For sensitive materials, skipping acidic agents like vinegar and relying instead on time, temperature, and neutral pH fluids helps retain both beauty and function.
Many professionals in watchmaking, medical instrument cleaning, and antique restoration prefer this minimal-intervention approach because it protects finishes, adhesives, and coatings that stronger solutions could degrade. Sometimes, doing less yields cleaner—and safer—results.
Real-World Feedback from DIY Users
Across various online cleaning communities, many DIY enthusiasts have shared their hands-on experience using vinegar in ultrasonic cleaners. A common approach involves combining one part white vinegar with four parts hot water and adding just a drop of mild dish soap. With this mixture, users typically run short cleaning cycles—often under 30 minutes—to remove stubborn grime or oxidation, particularly from metal components like tools, hardware, or hobby parts.
However, these same users frequently emphasize the importance of following up with a baking soda rinse. This step helps neutralize any lingering acidity from the vinegar, preventing long-term corrosion to both the ultrasonic tank and the items being cleaned. Many also recommend using a plastic beaker or jar placed within the ultrasonic bath to isolate the vinegar mixture from directly contacting the machine’s inner walls.
This kind of shared user insight highlights a key lesson: vinegar can be effective in specific scenarios, but it demands careful handling and post-cleaning care to ensure both safety and equipment longevity.
Final Thoughts: Use Vinegar Sparingly
Vinegar can be an effective ultrasonic booster for tough mineral or rust removal—but it’s not safe as a daily additive. If you choose to use it:
Use a heavily diluted mix, no more than 50%
Run short cycles, no more than 3–5 minutes
Neutralize thoroughly with baking soda & water
Rinse completely with clean water
Use a secondary container inside the tank to protect it
For routine cleaning, gently flavored detergents or commercial ultrasonic solutions are a better fit. That way, your cleaner remains durable, your items stay protected, and you still get sparkling results—without prematurely aging your machine.
Smart Ultrasonic Setup Tips
The effectiveness of any ultrasonic cleaner isn’t just about the fluid you use—it’s about the setup and execution. Even the best solution won’t deliver optimal results without the right practices in place. Begin by ensuring the tank is filled to the correct level and the items are suspended properly in a basket, avoiding direct contact with the tank bottom to prevent microabrasions or damage from vibration.
Water temperature plays a key role too. For most applications, lukewarm water (about 40–50°C) helps cleaning agents dissolve grime more efficiently, without risking material warping or adhesive failure.
If you’re looking for a home-friendly yet reliable option, Granbo’s GA008G ultrasonic cleaner is a standout. With its 0.8L stainless steel tank, digital control panel, and solid 40kHz frequency, it’s designed for users who need gentle yet thorough cleaning. The GA008G supports timer customization and degassing preparation—making it ideal for eyeglasses, jewelry, and delicate metal parts. Compact and quiet, it fits easily into a home workspace, dental lab, or repair bench without overwhelming noise or size.
A smart setup also means choosing your cleaning fluid carefully. Vinegar may work in small, well-controlled cases, but for long-term use, neutral or slightly alkaline solutions are gentler on both objects and machines. With the right cleaner, the right solution, and a bit of patience, your ultrasonic setup can rival professional results.
The following is a video of using Granbo’s GA008G ultrasonic cleaner to clean items. If you need to buy an ultrasonic cleaner, this ultrasonic cleaner will be a good choice for you: