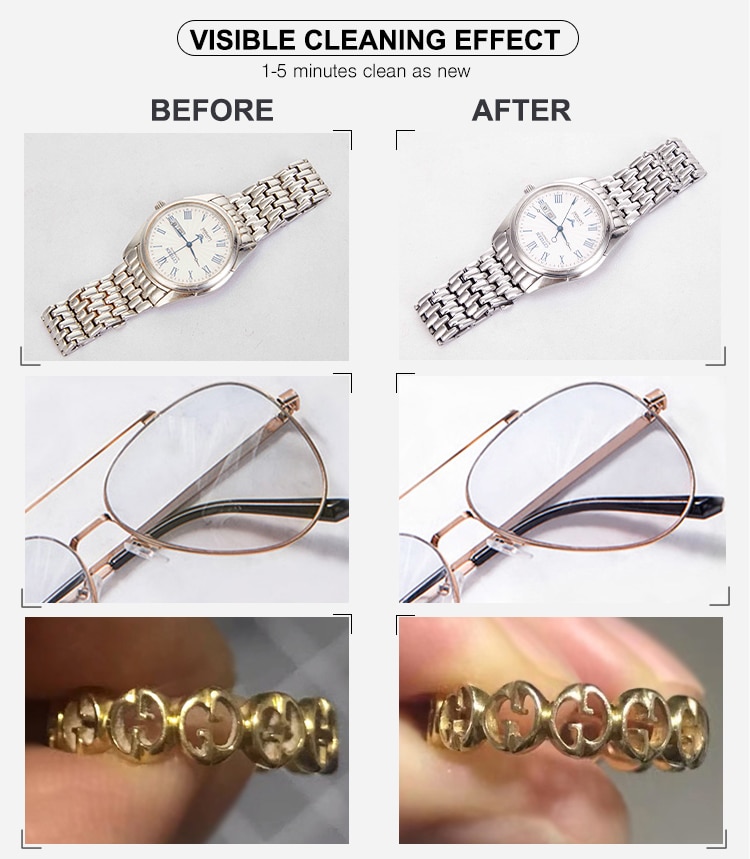
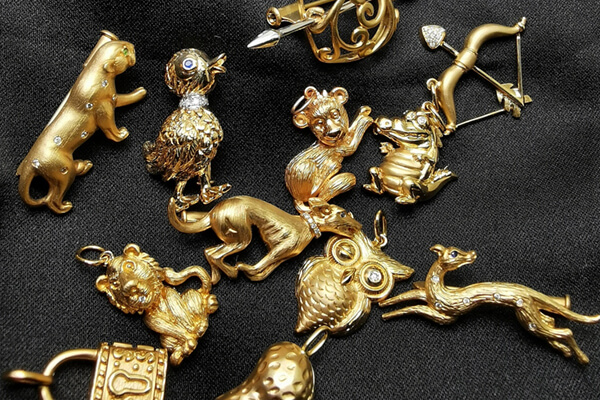
Gold has always been a symbol of wealth, elegance, and endurance. But even the most radiant gold jewelry can lose its shine over time due to contact with skin oils, lotions, dust, or airborne pollutants. While traditional polishing methods can help, they don’t always reach intricate crevices or tight settings. This is where ultrasonic cleaners come in.
These machines offer a gentle yet thorough way to clean gold, using ultrasonic sound waves that agitate a cleaning solution and dislodge dirt at a microscopic level. Ultrasonic cleaning has become widely adopted in professional jewelry studios and dental labs for its efficiency, precision, and non-abrasive action.
For everyday users, the idea of dropping a gold ring into a bubbling tank may seem risky. But when done right—with the proper setup and precautions—it’s one of the safest and most effective ways to maintain gold’s luster without damaging it.
How Ultrasonic Cleaning Works on Gold
To understand why ultrasonic cleaning works so well on gold, it helps to know how the process functions.
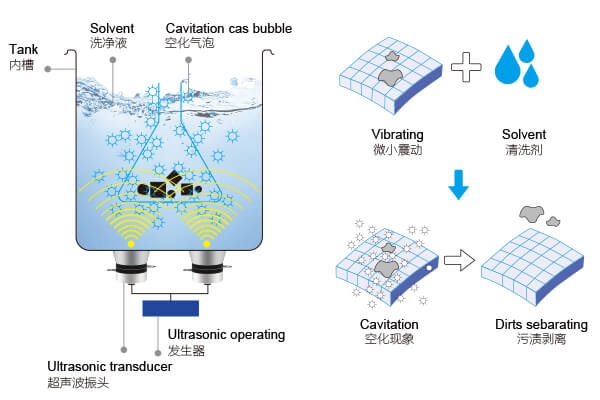
Ultrasonic cleaners operate by sending high-frequency sound waves—usually between 20 kHz and 200 kHz—through a liquid medium. These waves create microscopic bubbles in the cleaning solution, a process known as cavitation. When these bubbles collapse near a surface, they produce enough force to dislodge contaminants without scratching the material itself.
Gold, being a soft yet stable metal, responds well to ultrasonic cleaning. Solid gold pieces, especially those with simple designs and no fragile inlays, benefit greatly from this method. The ultrasonic energy reaches into tight spaces, like chain links or under stone settings, where brushes and cloths cannot.
However, not all gold jewelry is created equal—and that leads us to the next point.
Why Ultrasonic Cleaners Are Ideal for Solid Gold Jewelry
If your jewelry is made of solid 14K, 18K, or 22K gold without any glued components or embedded porous stones, you’re in luck. Ultrasonic cleaners are exceptionally good at bringing solid gold back to its original brilliance.
Unlike manual polishing, which relies on abrasion, ultrasonic cleaning penetrates all surface irregularities without wearing down the metal. This makes it particularly effective for rings, chains, bangles, and earrings that have been exposed to daily wear.
You’ll often see professional jewelers use ultrasonic machines not just for cleaning but for prepping gold before soldering, engraving, or appraisal. It’s a reliable step in ensuring no residues interfere with later processes.
The Right Ultrasonic Settings for Gold Cleaning
Getting good results from an ultrasonic cleaner is not just about turning it on and walking away. The right settings make a difference—especially when working with precious materials like gold.
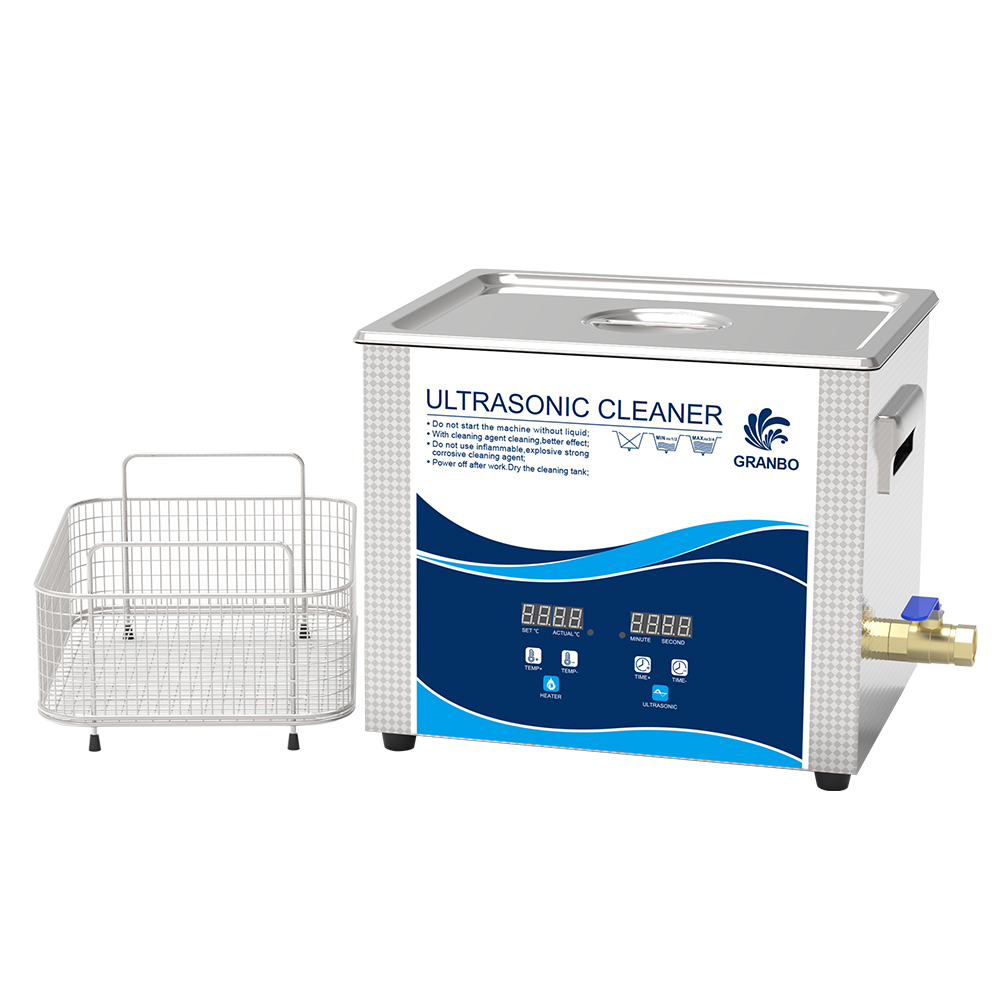
Most ultrasonic cleaners come with adjustable temperature and time controls. For gold, a temperature between 40°C to 60°C (104°F to 140°F) is typically recommended. This range enhances the cleaning action without stressing the metal.
The frequency setting also matters. A higher frequency, around 40–45 kHz, is gentler and more appropriate for delicate items like jewelry. Lower frequencies create more aggressive cavitation and may be too intense for fine gold work unless that level of cleaning is absolutely required.
Cycles typically last 30 seconds to 2 minutes, depending on how dirty the piece is. It’s always wise to start with a short cycle, inspect the result, and repeat if needed rather than risk overwashing.
Professional jewelry cleaner manufacturers and industry standards (such as ASTM E1928 for jewelry cleaning validation) emphasize this cautious, layered approach to avoid damage while achieving high cleanliness.
What Solution Should You Use for Gold in Ultrasonic Cleaners?
One of the most overlooked aspects of ultrasonic cleaning is the solution itself. The machine may be doing the physical work, but the cleaning fluid plays a critical chemical role in lifting off grime, oils, and microscopic contaminants. Using plain water will generate cavitation, but it won’t do much against grease or tarnish on its own.
For gold, the safest and most effective approach is to use a non-ammoniated, non-acidic, jewelry-safe ultrasonic cleaning solution. These solutions are specially formulated to dissolve organic residue and enhance the cavitation process without reacting with metals or stones.
Here are a few best practices when choosing and using solutions for gold:
- Avoid harsh chemicals: Anything with strong ammonia, chlorine, or acids can pit or discolor certain gold alloys or affect embedded stones.
- Go with low-foaming formulas: High foam inhibits ultrasonic cavitation. Commercially available jewelry solutions are designed for cavitation-friendly use.
- Dilute properly: Most jewelry-safe solutions require a dilution ratio between 1:10 and 1:20, depending on the brand. Overconcentration can leave residues or cause spotting.
- Degas before use: Always run a degas cycle or let the solution rest for 10–15 minutes after mixing to remove trapped air bubbles. This improves cavitation efficiency.
If you’re ever unsure, opt for a solution explicitly labeled for “precious metals” or “gold jewelry,” and follow all safety data sheet (SDS) instructions.
Professional sources like the Gemological Institute of America (GIA) and manufacturers of ultrasonic detergents regularly advise sticking to neutral pH solutions with surfactants safe for fine jewelry.
Is It Safe for All Gold Items? Important Material Considerations
While ultrasonic cleaning is generally safe for solid gold, not every gold item is created equal.
If your piece is made of gold-plated, gold-filled, or hollow gold, then ultrasonic cleaning becomes a much more delicate matter. These constructions involve thin layers of gold over base metals or voids that may react poorly under cavitation.
- Gold-plated items risk losing their plating entirely after a few cycles, especially if the coating is worn or thin.
- Gold-filled items are more robust but can still suffer at edges or joints, particularly if exposed to heat or strong detergents.
- Hollow gold can dent or collapse if structural integrity is compromised during cleaning.
Always check for visible wear, flaking, or thin spots before ultrasonic cleaning. When in doubt, a microfiber cloth and mild soap may be a safer choice for such pieces.
Gemstones in Gold Jewelry: Proceed with Caution
Many gold pieces feature embedded stones, and while the metal itself might survive ultrasonic treatment, the stones may not.
Here’s the rule of thumb: not all gemstones are safe in ultrasonic cleaners—even when set in solid gold.
- Safe: Diamond, sapphire, ruby, spinel, and cubic zirconia are typically safe for ultrasonic cleaning if not fracture-filled or heavily included.
- Unsafe: Emerald, opal, turquoise, lapis lazuli, amber, and pearls should never go into an ultrasonic cleaner. They are porous, delicate, or chemically sensitive.
Even safe gemstones can become dangerous to clean ultrasonically if they are:
- Treated or filled (e.g., fracture-filled diamonds)
- Loosely mounted
- Glued rather than prong-set
When gemstones are involved, it’s often wise to consult a jeweler first. Many labs and cleaning professionals use stone-specific protocols to evaluate whether ultrasonic is appropriate.
GIA provides comprehensive gemstone treatment guidelines, and many of them explicitly mention ultrasonic risk profiles.
What About White Gold and Rose Gold?
Gold comes in various alloys and finishes, and these variations can impact how safely and effectively ultrasonic cleaning can be applied. Among the most common alternatives to yellow gold are white gold and rose gold, each of which carries unique considerations.
White Gold
White gold is typically an alloy made by mixing gold with metals like palladium, nickel, or silver, giving it a silvery appearance. It’s also often coated with rhodium, a platinum-group metal that enhances its shine and durability.
Ultrasonic cleaners are generally safe for white gold, but caution must be taken if the rhodium plating is thin or worn. Aggressive cavitation or extended cleaning cycles can dull or erode the rhodium layer, especially if strong chemical solutions are used. The result may be a slightly yellowish tint that reflects the alloy underneath. If your white gold jewelry is rhodium-plated, you may want to keep ultrasonic cleaning sessions short and infrequent.
Rose Gold
Rose gold derives its pink hue from a higher percentage of copper in the alloy mix. While solid rose gold tends to be durable, it is more chemically reactive than yellow or white gold due to the copper content. That means:
- It may tarnish slightly faster if exposed to harsh solutions.
- Using a neutral pH solution is especially important to avoid discoloration.
- Make sure the cleaning fluid is formulated for colored gold or copper-based alloys.
Rose gold should also be cleaned for shorter durations, and always inspected for signs of surface degradation after use. That said, it still responds well to ultrasonic cleaning when proper precautions are followed.
How Long Should You Clean Gold in an Ultrasonic Machine?
Time is critical. Many users assume that longer equals better, but overcleaning gold jewelry can cause more harm than good, especially with plated items or those containing sensitive stones.
For most solid gold items, cleaning cycles of 1 to 3 minutes are typically sufficient when using the right solution and temperature. In fact, many professionals recommend short bursts of 30 to 60 seconds followed by inspection.
Plated items or mixed-material jewelry should be limited to 30 seconds or less per session, as extended exposure can increase the risk of plating damage or glue degradation (if adhesive is used in the construction).
Always allow the jewelry to cool and rinse it thoroughly with clean water after ultrasonic cleaning. This helps remove any residual solution and prevents chemical spotting or tarnish.
Temperature Control and Gold Cleaning Efficiency
Ultrasonic cleaning doesn’t just depend on power and chemistry—temperature plays a massive role in how well contaminants are loosened and removed.
The ideal temperature range for gold cleaning in most jewelry-safe ultrasonic solutions is 40°C to 60°C (104°F to 140°F). This warmth helps soften oils, dirt, and other organic debris without risking thermal expansion of joints or adhesives.
However, excessive heat—especially above 70°C (158°F)—can:
- Weaken glued joints.
- Affect stone treatments like oiling or fracture-filling.
- Contribute to plating degradation.
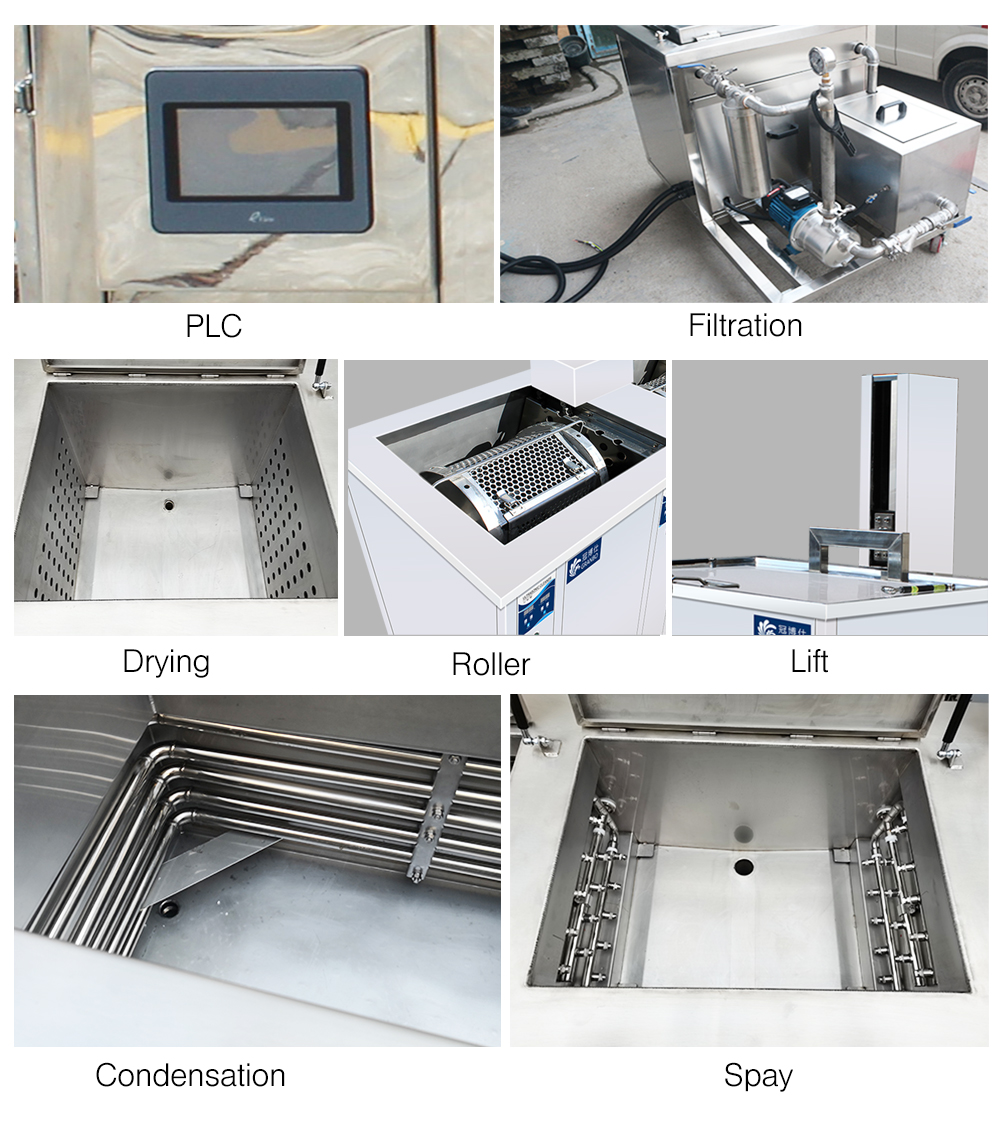
High-end ultrasonic cleaners often allow for precise temperature control and include safety shutoffs to prevent overheating. If your machine lacks this feature, using a thermometer and carefully monitoring the water bath is a wise practice.
If you’re unsure whether your jewelry is safe to clean at elevated temperatures, it’s always best to err on the lower side and extend the cleaning time slightly—rather than risk heat damage.
Post-Cleaning Care: What to Do After Ultrasonic Cleaning Gold
After a successful ultrasonic cleaning session, your gold may look pristine—but there’s still one final step: post-cleaning care. This is especially important for preserving shine, preventing future tarnish, and ensuring no chemical residues remain.
The very first thing to do is rinse the jewelry thoroughly with clean, distilled water. Tap water might contain minerals that can leave spots or react with metal finishes. Distilled water ensures a residue-free finish.
After rinsing, gently pat dry with a lint-free microfiber cloth. Avoid paper towels, which can scratch polished surfaces. For intricate or delicate pieces, a low-pressure air blower (like those used for camera lenses) can help remove water from crevices.
Let the item air dry completely before storage, especially if it includes any porous elements like soft stones or organic inlays. Trapped moisture in enclosed settings can create tarnish or encourage mold growth.
Finally, consider storing cleaned gold items in individual pouches or lined jewelry boxes. This avoids re-contamination from skin oils, dust, or contact with other metals.
If the gold appears dull after cleaning, you can polish it gently using a jewelry-specific polishing cloth. But be cautious—do not polish rhodium-plated or antique pieces without professional advice.
Insights from Dental, Jewelry, and Industrial Fields
The use of ultrasonic cleaning is not limited to jewelers. Experts across various fields trust this technology for different materials, and their insights can offer practical lessons for gold owners.
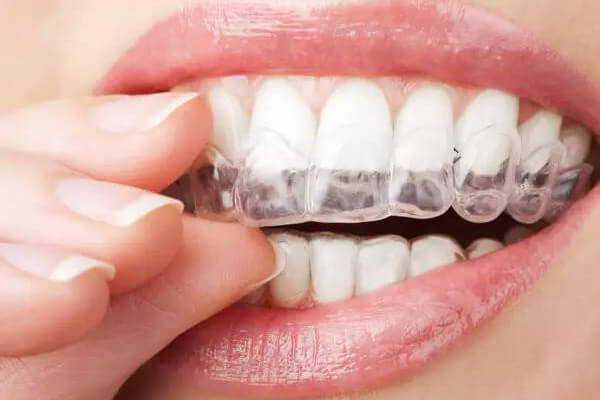
Dental Technicians
Dental labs frequently use ultrasonic cleaners to sterilize tools and clean delicate dental prosthetics. Their emphasis is always on non-corrosive, neutral pH solutions, especially for items with intricate geometries or multiple material layers. This lesson applies to gold jewelry with mixed components like enamels, adhesives, or soft inlays.
Watchmakers and Jewelers
Many watchmakers use ultrasonic baths for gold watch cases, but they avoid putting the watch movement itself in the cleaner. They stress short cycles and regular maintenance of the cleaning solution to prevent particle buildup. Watchmakers also recommend pre-soaking heavily soiled pieces before ultrasonics to avoid excessive cavitation damage.
Electronics and Aerospace Maintenance
In high-tech industries, ultrasonic cleaning is used for micro-components like gold-plated circuit contacts. These sectors highlight the importance of rinse protocols, controlled cavitation intensity, and frequent testing of cleaning fluids. Even slight overuse of aggressive solutions can erode gold plating—a strong reminder for consumers handling gold-plated jewelry.
These shared insights highlight a central theme: ultrasonic cleaning is powerful, but it must be respected. Gold responds well to it, but the process must be tailored to the specific form and function of the item.
A Step-by-Step Guide to Cleaning Gold with an Ultrasonic Cleaner
Cleaning gold at home using an ultrasonic cleaner can be both safe and effective—if done properly. Whether you’re working with a personal jewelry piece or professional inventory, this methodical process ensures you get maximum results without risking damage.
Step 1: Inspect the Gold Item
Before doing anything else, closely inspect the item under good lighting. Are there any loose stones, soldered joints, or enamel inlays? Is the gold solid or plated? These factors will influence your next steps. Fragile items should be tested individually before cleaning a full batch.
Step 2: Choose the Right Cleaning Solution
Never use plain water alone. Instead, select an ultrasonic cleaning solution specifically designed for use on precious metals, preferably non-ammoniated, pH-neutral, and safe for gold and gemstones. Many solutions are biodegradable and free of harsh acids or alkalis, minimizing risks to gold alloys and solder points.
Some solutions are concentrated and require dilution—follow the manufacturer’s ratio carefully, usually between 1:20 to 1:40 for jewelry cleaning. Avoid multipurpose industrial solvents or aggressive degreasers, which may tarnish or pit gold surfaces.
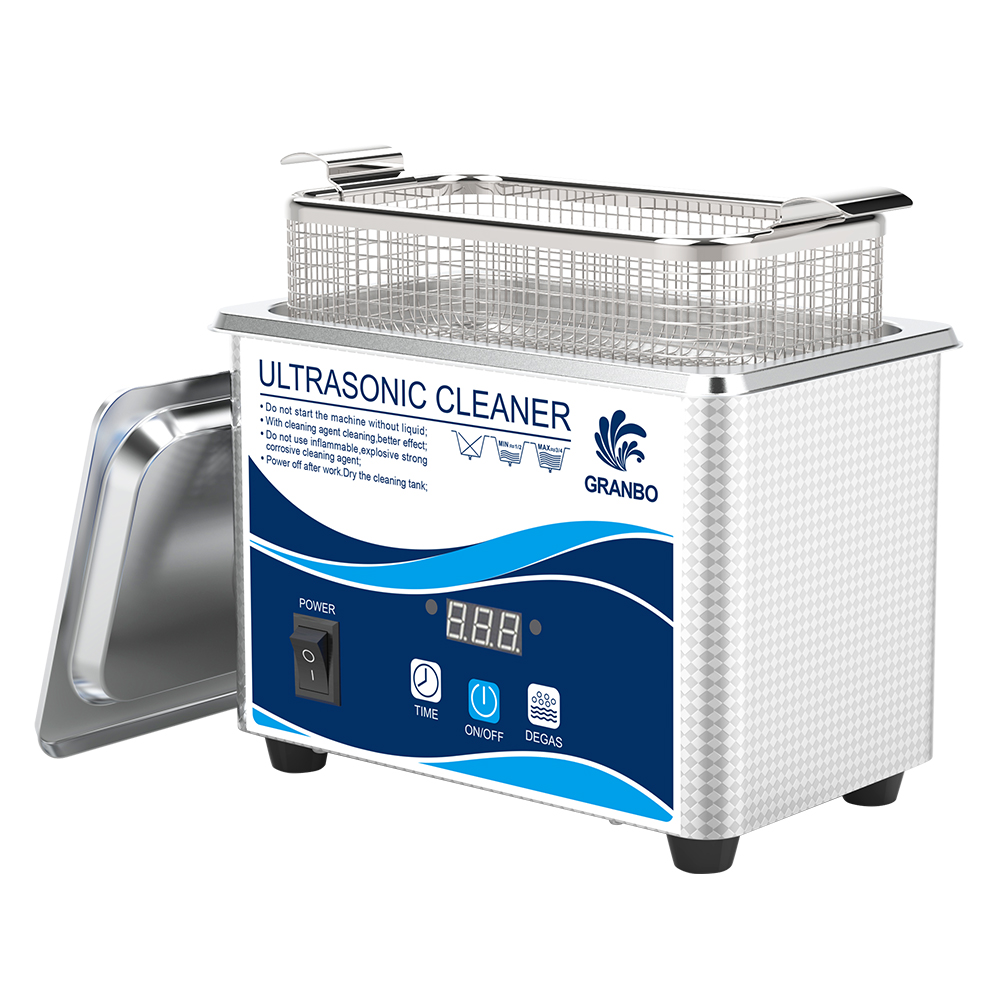
Step 3: Fill and Degas the Tank
Fill the ultrasonic tank with the diluted solution. Let it run for 5–10 minutes without any items inside to allow degassing—the release of trapped air in the liquid—which significantly improves cavitation strength and cleaning uniformity.
Step 4: Position Items Properly
Place your gold jewelry in a mesh basket or tray, ensuring the pieces do not touch each other. Do not let them rest on the bottom of the tank—this can prevent full cavitation exposure and may cause scratches or vibration damage.
Ensure the water level fully covers all items. Use a gentle sweep or frequency mode if available, especially for items with hollow sections or prong settings.
Step 5: Run a Short Cycle
Gold generally does not require long exposure to ultrasonic waves. Set the timer for no more than 1–2 minutes for basic cleaning, and up to 3–5 minutes for heavily soiled items. Longer cycles should only be used under professional supervision, especially for older or plated pieces.
Maintain solution temperature around 30–50°C (86–122°F) for optimal cleaning. Do not exceed this range unless the cleaner and solution explicitly support higher temperatures.
Step 6: Rinse and Dry
After cleaning, rinse thoroughly in distilled water to remove any residual cleaning agents. Pat dry with a soft microfiber cloth, then allow to air dry completely before storing. Never use abrasive cloths or compressed air, as these can damage soft gold surfaces or loosen stone settings.
Common Mistakes to Avoid
While ultrasonic cleaners are generally safe, misuse can compromise the safety and appearance of gold. Here are the most common pitfalls to steer clear of:
- Using household cleaners: Never substitute ultrasonic cleaning solutions with dish soap, bleach, or alcohol-based fluids. These can etch or discolor gold alloys.
- Cleaning gold-plated items too often: Excessive ultrasonic exposure can accelerate the wearing-off of gold plating.
- Skipping inspections: Loose gemstones or solder joints can be further damaged or detached during cleaning.
- Using high temperatures or long cycles: Overexposure to heat and cavitation can degrade solder, adhesives, or finishes.
- Overloading the tank: Too many items reduce cavitation efficiency, resulting in uneven cleaning and potential scratching.
Avoiding these mistakes preserves not only the aesthetics of your gold jewelry but also its long-term durability and value.
Aftercare and Long-Term Maintenance for Gold
Using an ultrasonic cleaner is only part of keeping your gold looking its best. Once your jewelry or components are cleaned, proper storage and routine inspection play a major role in maintaining their brilliance and structural integrity.
Store gold in individual soft pouches or lined compartments to prevent scratching. Avoid humid environments, and keep your items away from chemical exposure such as perfumes, lotions, or chlorine. If your pieces include mixed materials (pearls, emeralds, enamel, etc.), it’s best to clean them separately or consult a jeweler before using any ultrasonic method.
Recheck each item periodically. Look for signs of wear like prong movement, loose clasps, or dulling finish. Professional polishing or re-plating may be needed for items worn daily.
For heirloom pieces, investment jewelry, or those with delicate custom settings, always consult a certified jeweler or gemologist before using ultrasonic cleaning, even at home. Some items may require manual cleaning under magnification or use of alternative methods like steam or ionic cleaners.
Final Thoughts: Yes, You Can Clean Gold in an Ultrasonic Cleaner—With Care
Ultrasonic cleaning offers a fast, efficient, and often superior method for restoring gold jewelry and components to their original shine. However, not all gold is created equal. Solid 14k and 18k gold items generally tolerate ultrasonic waves well, while plated, antique, or gemstone-adorned pieces may require caution.
By following best practices—choosing the right solution, using proper timing, avoiding overexposure, and confirming your item’s condition beforehand—you can safely use an ultrasonic cleaner to maintain the beauty and hygiene of your gold.
Always remember, when in doubt, a quick consultation with a dental professional or certified jeweler ensures peace of mind and preserves the value of your item.