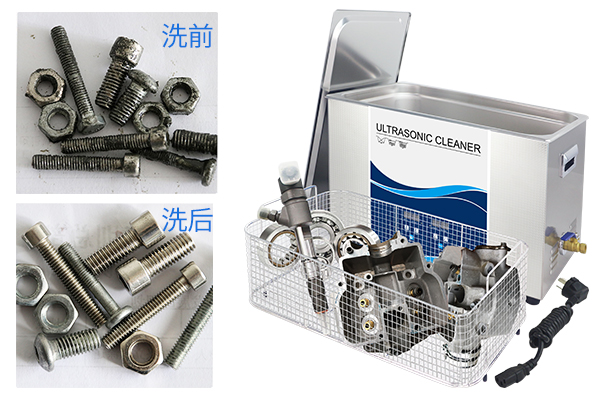
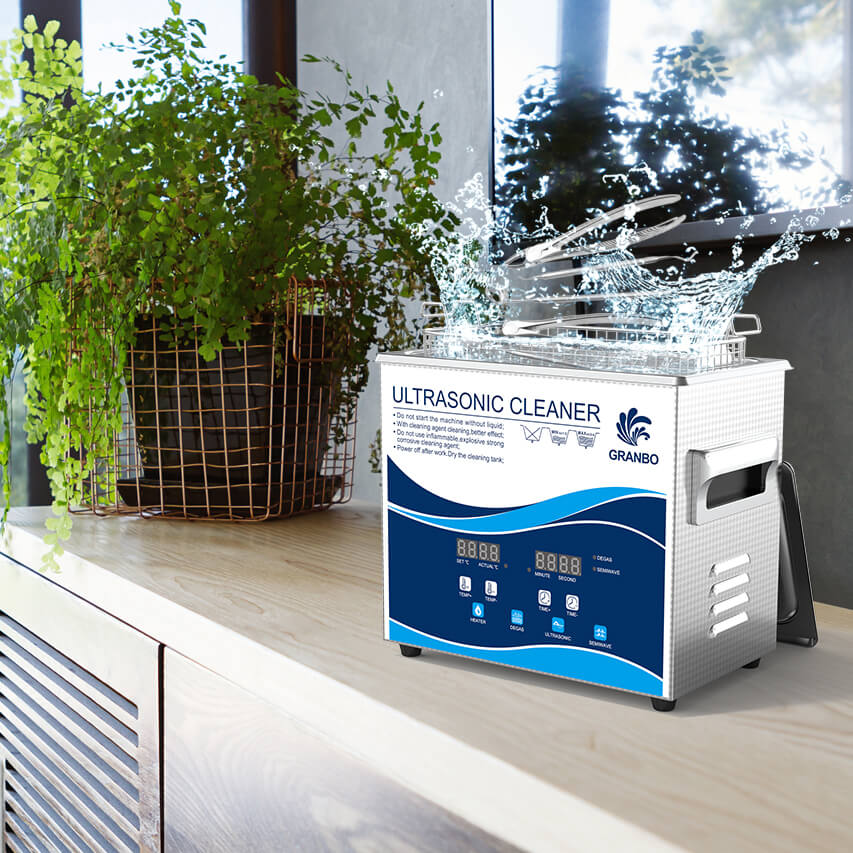
Ultrasonic cleaners are indispensable tools in both professional and home environments, offering precision cleaning for everything from jewelry and eyeglasses to surgical instruments and industrial components. But while these machines are excellent at removing dirt and grime from other items, they also require periodic cleaning themselves. Over time, residue from cleaning solutions, loosened debris, and mineral buildup can compromise their performance. Understanding how to properly clean and maintain your ultrasonic cleaner is essential for preserving its efficiency and ensuring long-term reliability.
Regular Cleaning: The Key to Keeping Your Ultrasonic Cleaner Efficient
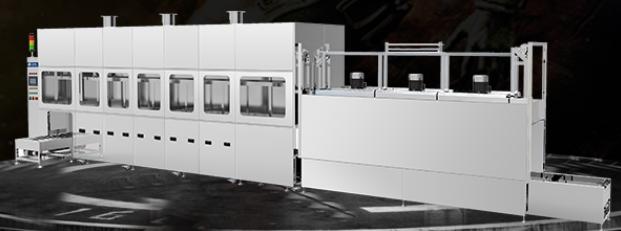
Ultrasonic cleaners are widely used across industries—from medical and dental facilities to laboratories, jewelry workshops, and precision manufacturing. While these machines are known for their ability to clean intricate items effectively, many users overlook a crucial aspect: the ultrasonic cleaner itself needs regular cleaning to function properly.
Neglecting maintenance can lead to reduced ultrasonic power, contamination of new cleaning cycles, and potential damage to the unit. Proper cleaning not only maintains performance but also extends the equipment’s lifespan and ensures user safety.
Regularly cleaning the tank, changing the cleaning solution, and inspecting key components such as baskets and lids help preserve the machine’s power output and structural integrity. A well-maintained ultrasonic cleaner not only ensures superior cleaning results but also extends the lifespan of the unit, minimizes the risk of malfunction, and promotes a safe and sanitary working environment.
Common Sources of Contamination Inside an Ultrasonic Cleaner
Over time, ultrasonic cleaners accumulate various residues and contaminants, especially when used frequently or for industrial-grade applications. Common buildup includes:
- Residual cleaning solution (with dissolved oils, dirt, or particles)
- Debris released from cleaned items
- Corroded metal particles or tarnish flakes
- Mineral deposits or water scale (especially in hard water regions)
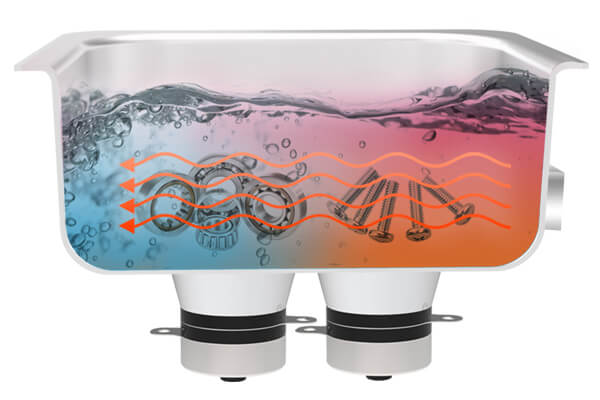
These residues can settle in the tank, around transducers, at drain valves, and on control panels. If not regularly cleaned, they reduce cavitation efficiency, damage internal components, and create hygiene concerns in sensitive environments like medical labs.
Step-by-Step Instructions to Clean Your Ultrasonic Cleaner
1. Power Down and Cool Off
Always disconnect the power supply and allow the machine to cool before cleaning. This prevents electric shock and protects sensitive parts.
2. Drain and Wipe the Tank
Drain any used cleaning solution. Use a soft, lint-free cloth to wipe down the inside of the tank. Avoid using metal brushes or abrasive pads that may scratch the stainless steel.
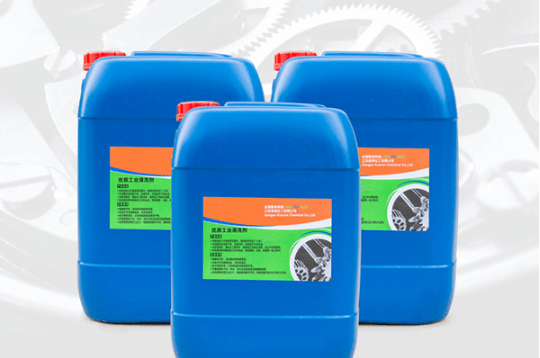
3. Use a Neutral Cleaning Agent
Apply a mild, pH-neutral cleaning solution to both the inside and outside of the unit. For internal cleaning, you can use a non-abrasive sponge or cloth soaked in the diluted solution to gently scrub.
4. Clean Around the Transducers
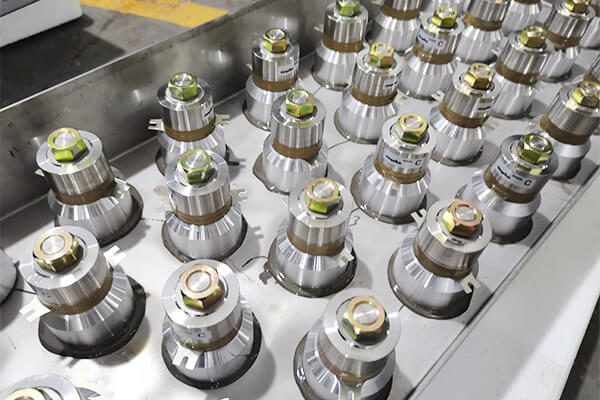
If accessible, gently wipe around the base of the tank where the transducers are mounted. Do not use excessive water or immerse any electrical components.
5. Rinse Thoroughly
Rinse the tank with distilled water several times to remove all chemical residues. Dry thoroughly with a microfiber cloth to prevent water spots or corrosion.
6. Clean the Exterior and Control Panel
Use a lightly dampened cloth to clean the outer casing and button panel. Avoid liquid entry into any vents or button seams.
Common Mistakes to Avoid
Using the Wrong Cleaning Agents
Avoid bleach, acidic cleaners, or highly alkaline substances, as they can corrode stainless steel and damage transducers or circuit boards.
Neglecting Routine Maintenance
Waiting until the machine malfunctions to clean it often leads to irreversible damage. Establishing a consistent cleaning schedule is crucial.
Scrubbing with Abrasive Tools
Steel wool or hard brushes may scratch and pit the tank interior, creating spots for rust and contaminant buildup.
Recommended Cleaning Frequency
How often you clean your ultrasonic cleaner depends on its usage intensity:
- After every use: Drain and wipe the tank
- Weekly: Full internal cleaning with diluted detergent
- Monthly: Clean and inspect exterior components and test for proper cavitation
- Quarterly or biannually: Professional servicing and inspection of transducers, timers, and circuitry
For high-precision environments (e.g., dental or lab settings), more frequent deep cleaning is advisable. Keeping a log of maintenance activities is also recommended for tracking and accountability.
Maintaining a clean ultrasonic cleaner is just as important as using it correctly. By incorporating routine care into your workflow—such as draining used solution after each session, wiping down the tank, and performing deeper cleans on a regular basis—you can ensure that your device operates at peak performance and avoids preventable issues. A well-maintained unit not only delivers superior cleaning results but also saves time, money, and hassle in the long run. Whether you’re in a lab, clinic, workshop, or home setting, a little upkeep goes a long way toward keeping your ultrasonic cleaner in top condition.