Introduction: Ultrasonic cleaning machines are efficient devices used to remove surface contaminants and debris from various objects. When it comes to cleaning sensitive components like chips, special methods and procedures are required to avoid any damage or performance issues. This article outlines the general methods and procedures for cleaning chips using an ultrasonic cleaning machine.
Methodology:
Power Off and Disassemble: Before cleaning the chips, ensure that the ultrasonic cleaning machine is turned off and unplugged to eliminate any electrical hazards. If the chips are detachable, carefully remove them from the device. For non-removable chips, take extra precautions to protect them during the cleaning process.
Surface Decontamination: Use a soft brush or cotton swab dipped in an appropriate cleaning solution to gently remove surface contaminants and dust from the chips. Avoid using abrasive cleaning agents that may scratch the chip’s surface.
Prepare the Cleaning Solution: Select a suitable cleaning solution for the chips. Typically, deionized water or ethanol is recommended as non-corrosive solvents. Avoid using solutions containing acids, alkalis, or corrosive components that may harm the chips.
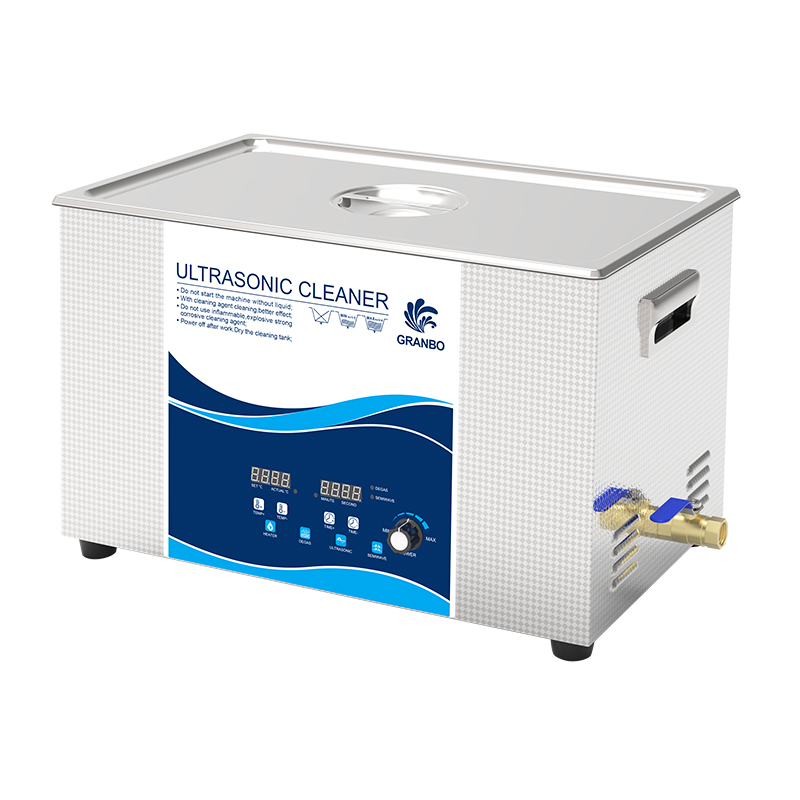
Cleaning the Chips: Pour the cleaning solution into the cleaning tank of the ultrasonic cleaning machine. Submerge the chips fully into the liquid to ensure thorough cleaning.
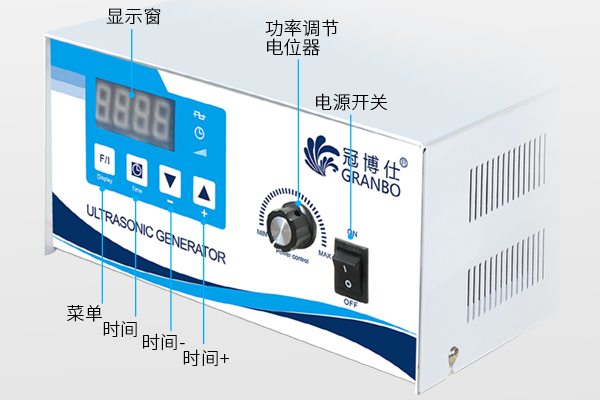
Ultrasonic Cleaning: Activate the ultrasonic cleaning machine and choose the appropriate cleaning time and power settings as per the machine’s specifications. Ultrasonic vibrations will create physical effects, effectively removing contaminants from the chip’s surface.
Rinsing and Drying: After the cleaning process, take out the chips and rinse them with pure deionized water or ethanol to remove any residual cleaning solution. Use an air gun or fan to dry the chip’s surface.
Optional Post-Treatment: If necessary, place the chips in a static oven for drying to ensure complete dryness before reassembly.
Inspection and Testing: Inspect the chip’s surface for cleanliness, ensuring no traces of debris or water marks remain. Conduct functional tests on the chips before reinstallation to verify their performance remains unaffected.
Important Notes:
Handle chips with care during the cleaning process to avoid excessive force that could lead to damage.
Use suitable cleaning solutions and moderate ultrasonic power to protect chip integrity and longevity.
Prevent cleaning solution from infiltrating the chip’s internal components to avoid short circuits or malfunctions.
Conclusion: Cleaning chips with an ultrasonic cleaning machine requires careful operation, appropriate cleaning solutions, and adherence to proper cleaning procedures to ensure chip safety and performance. Regular inspection and testing of cleaned chips are crucial for their long-term functionality. If unsure about chip cleaning, consult professional technical personnel for guidance.