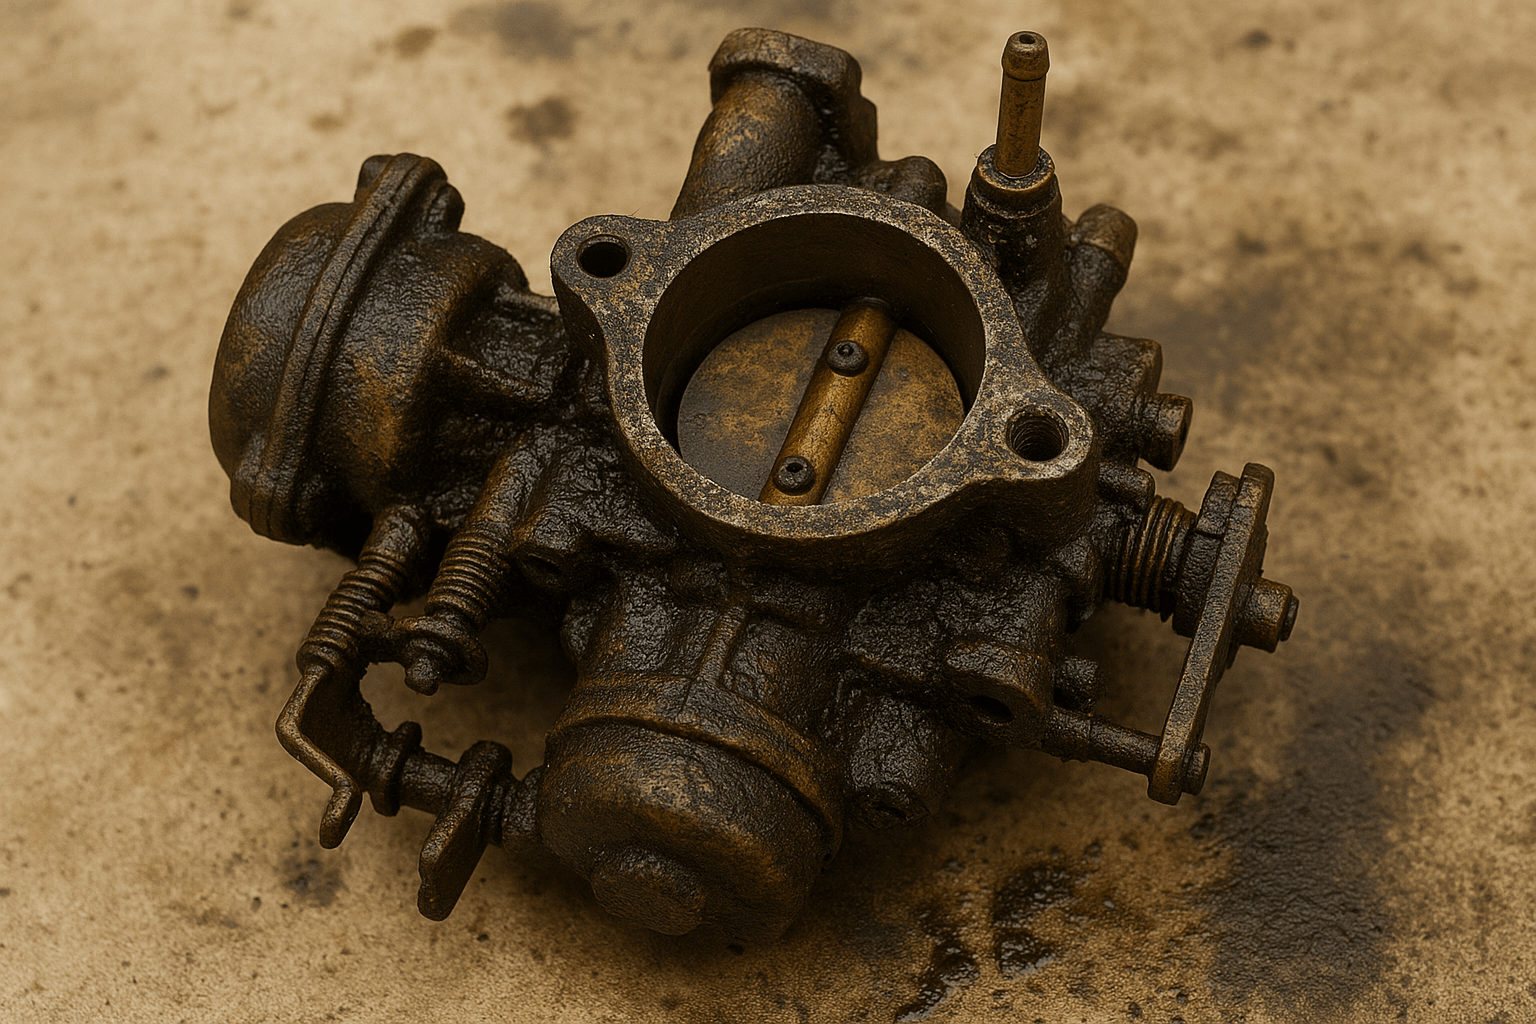
For mechanics, DIY tuners, or vintage vehicle enthusiasts, cleaning a carburetor can feel like scrubbing inside a maze. Clogged jets, carbon deposits, and fuel varnish can cripple performance. Thankfully, ultrasonic cleaners offer a powerful, non-invasive solution. But the real key to success lies in knowing what liquid to use. Pairing your ultrasonic cleaner with the right solution can mean the difference between superficial rinsing and a full-blown internal restoration.
Why Standard Cleaning Liquids Don’t Cut It
While household detergents and generic degreasers may work for light surface grime, they often fall short when it comes to the complex internal structure and stubborn buildup found inside carburetors. These everyday solutions are typically formulated for general cleaning tasks and lack the targeted chemical agents required to break down aged fuel residues, carbonized oils, and varnish that accumulate over time. Worse, some may contain foaming agents or harsh chemicals that either interfere with ultrasonic cavitation or damage sensitive alloy components.
Ultrasonic cavitation does the heavy lifting, but without the right chemistry in the tank, it’s like using a pressure washer with no soap. That’s why cleaning liquids formulated for degreasing and de-carbonizing are essential.
Best Solutions to Use in an Ultrasonic Cleaner for Carburetors
For effective results, your cleaning liquid should be water-based, non-flammable, and designed to break down the specific contaminants found in carburetors—primarily oil, fuel varnish, carbon buildup, and dirt.
Alkaline Degreasers (pH 9–12)
These are ideal for cutting through oily residues and aged fuel deposits. Choose industrial-grade, water-dilutable degreasers labeled safe for aluminum and non-ferrous metals.
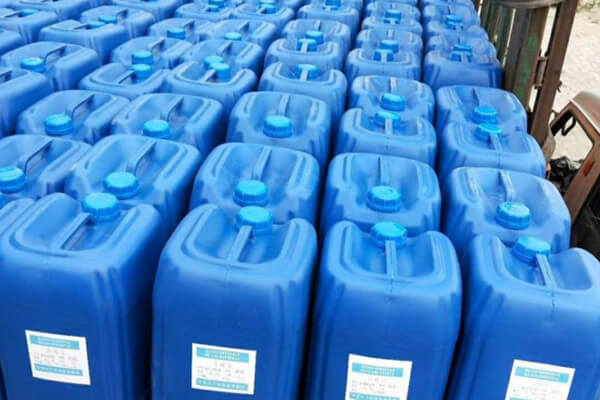
Ultrasonic Carburetor Cleaning Concentrates
Many commercial brands offer solutions specifically designed for ultrasonic use on carburetors. These blends often contain surfactants, corrosion inhibitors, and emulsifiers. They’re safer than harsh solvents and optimized for ultrasonic cavitation.
Homemade Mix (for light-duty tasks)
You can also mix your own solution using warm distilled water, a small amount of mild dish soap, and 1–2% white vinegar. This is only recommended for light residue and not for heavily soiled carbs.
DO NOT Use These in Your Ultrasonic Cleaner:
Gasoline, brake cleaner, acetone, alcohol, and other flammable or volatile liquids are unsafe for ultrasonic cleaning—especially when heat is involved. They pose a fire and explosion hazard and can damage both your equipment and your carb.
Key Properties to Look for in a Good Carb Cleaning Solution

When cleaning carburetors with an ultrasonic cleaner, not all cleaning solutions are created equal. Carburetors are intricate components with narrow passages, delicate seals, and stubborn carbon buildup. To clean them effectively without damage, the cleaning solution must offer specific properties tailored to the task. Below are the key features to consider when choosing a quality carb cleaning solution:
Non-corrosive – Safe for aluminum, brass, and gaskets
Water-soluble – Mixes easily and supports cavitation
Biodegradable – Environmentally safer disposal
Low foaming – Too much foam disrupts ultrasonic energy
Heatable – Stable and effective at 50–60°C for enhanced cleaning
Cleaning Procedure for Carburetors in Ultrasonic Cleaner
Using the right solution is only half the job. Here’s a brief overview of how to use it effectively:
Pre-rinse and disassemble.
Remove gaskets, rubber parts, and as much debris as possible. Compressed air or a brush can help. This step prevents your cleaner from becoming overloaded with solids too quickly.
Prepare the solution.
Mix your chosen cleaning liquid with distilled water according to label instructions. Most industrial concentrates dilute at a 1:10 or 1:20 ratio.
Heat the bath.
Set your ultrasonic cleaner to 50–60°C. Heat boosts chemical reactions and softens hardened residues.
Degas the solution.
Before cleaning, run the cleaner empty for 5–10 minutes to remove dissolved air. This improves cavitation intensity.
Clean for 10–20 minutes.
Duration depends on contamination level. Start with 10 minutes and extend if needed. Use a stainless-steel basket to avoid direct contact with the tank bottom.
Rinse thoroughly.
Remove the carb, rinse with warm water or compressed air to eliminate leftover solution.
Dry and inspect.
Blow-dry immediately to avoid water spots or corrosion. Inspect jets and passages. Repeat if necessary.
Why Cleaning Solution Matters More Than You Think
A powerful ultrasonic cleaner, even with a premium frequency range and heating function, is only as good as the liquid inside it. Effective cleaning depends on cavitation power—and that cavitation is influenced by the density, viscosity, and chemical makeup of your cleaning solution.
Use a low-quality solution, and you may just shake the dirt around. Use the right one, and it’ll be like watching years of grime melt away in minutes.
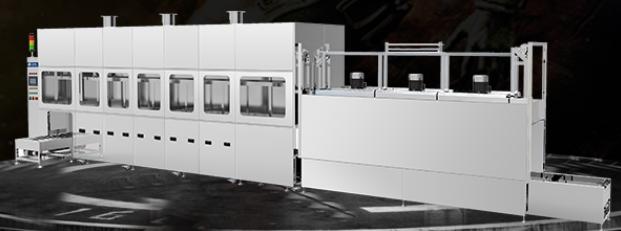
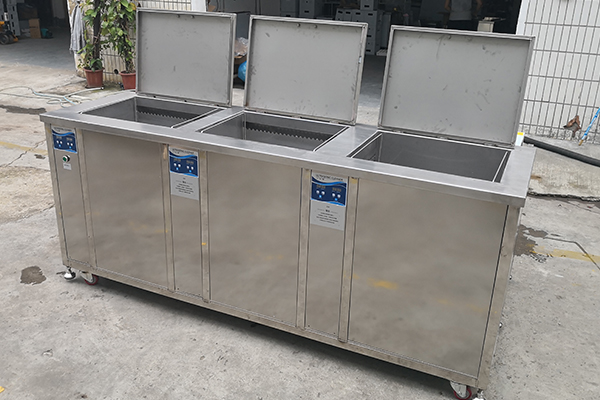
How Granbo Helps You Maximize Performance
At Granbo, we’ve developed ultrasonic cleaning systems optimized for carburetor restoration. Our digital ultrasonic cleaners feature programmable cycles, multi-frequency support (like 40kHz/68kHz), built-in heaters, and degas mode. That means your cleaning solution gets activated faster, deeper, and more evenly—especially in blind holes and tight channels.
We recommend pairing our equipment with industrial-grade carburetor solutions or our tested Granbo cleaning liquids. The result is a safer, more effective process that extends the life of your carb and boosts engine performance.
Whether you’re maintaining motorcycles, restoring vintage cars, or servicing lawn equipment, using the right ultrasonic liquid is what turns a good clean into a professional-grade result.